Setting Up a SoftEther VPN Server on Windows 10: A Step-by-Step Guide
Introduction
In the digital age, privacy and security are paramount. Whether you're a business professional safeguarding sensitive data or an individual seeking to protect your online activities, setting up a VPN (Virtual Private Network) server is a crucial step towards achieving this security. This blog post is dedicated to guiding you through the process of setting up a SoftEther VPN server on your Windows 10 system.
SoftEther VPN is renowned for its versatility and strength, offering a free, open-source, cross-platform, multi-protocol VPN solution. In this guide, we will explore the benefits of using SoftEther VPN, its compatibility with Windows 10, and provide a comprehensive, easy-to-follow tutorial on installing and configuring your own VPN server. By the end of this post, you will have a robust and secure VPN server, ensuring your online activities remain private and protected. Let's dive into the world of enhanced digital security with SoftEther on Windows 10.
Installation Guide
This guide assumes the user is familiar with basic networking concepts and has administrative access to the Windows 10 machine where the VPN server will be installed.
-
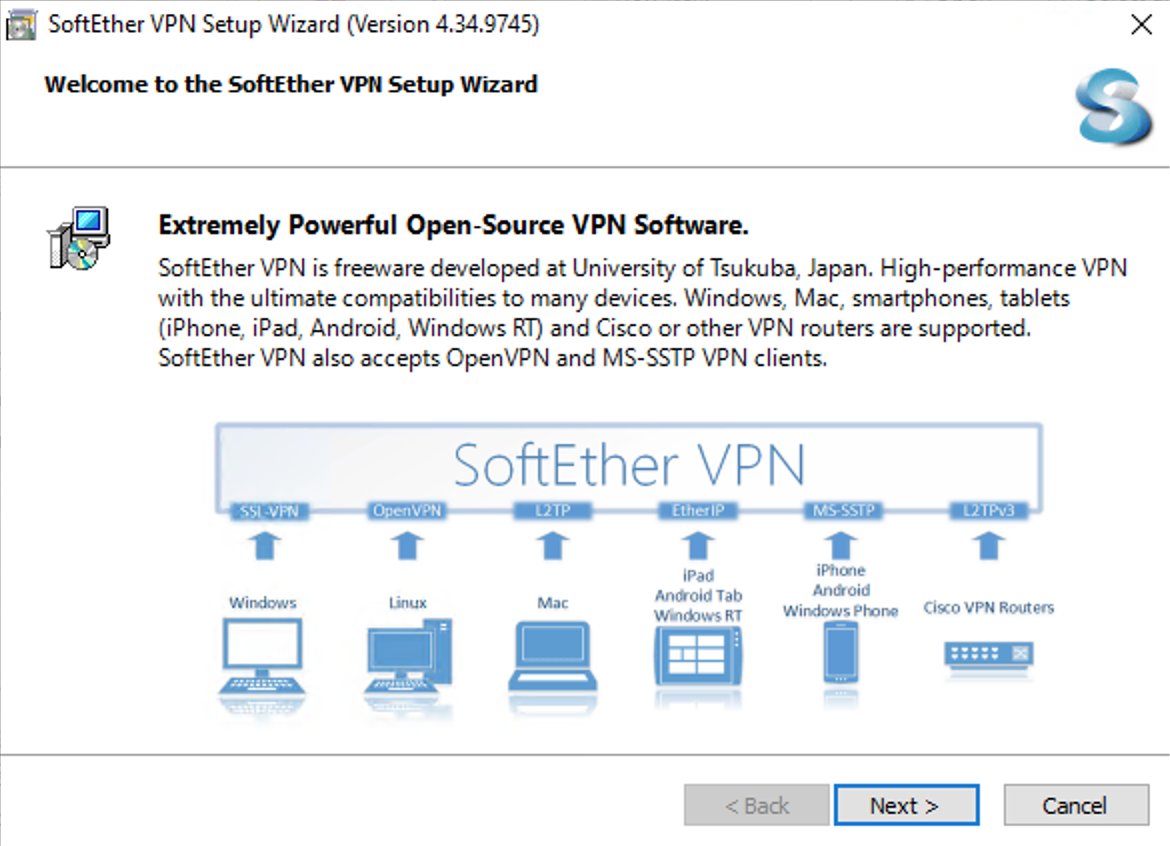
Step 1: Launching the Setup Wizard
Open the SoftEther VPN Setup Wizard to begin the installation. This initial screen provides an overview of SoftEther’s compatibility and capabilities.
-
Step 2: Selecting Components to Install
Choose which components of the SoftEther VPN you wish to install. Options include the VPN Server, VPN Bridge, or the Server Manager for administration. For a basic server setup, select "SoftEther VPN Server".

-
Step 3: Reviewing the End User License Agreement
Carefully read the End User License Agreement (EULA). You must accept the terms of this license to use the SoftEther VPN software.

-
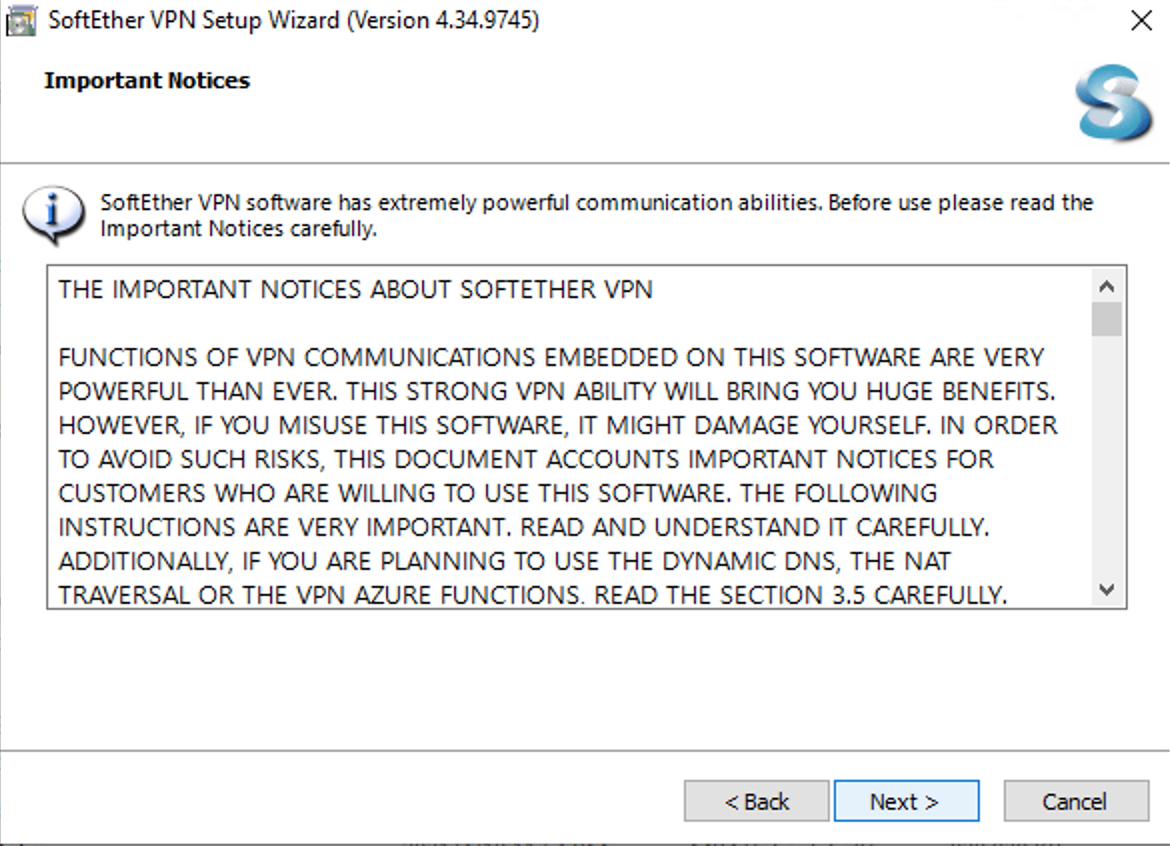
Step 4: Acknowledging Important Notices
Pay attention to the Important Notices that advise on the powerful capabilities of the VPN software and warnings against misuse. These notes ensure that you understand the implications of using the software.
-
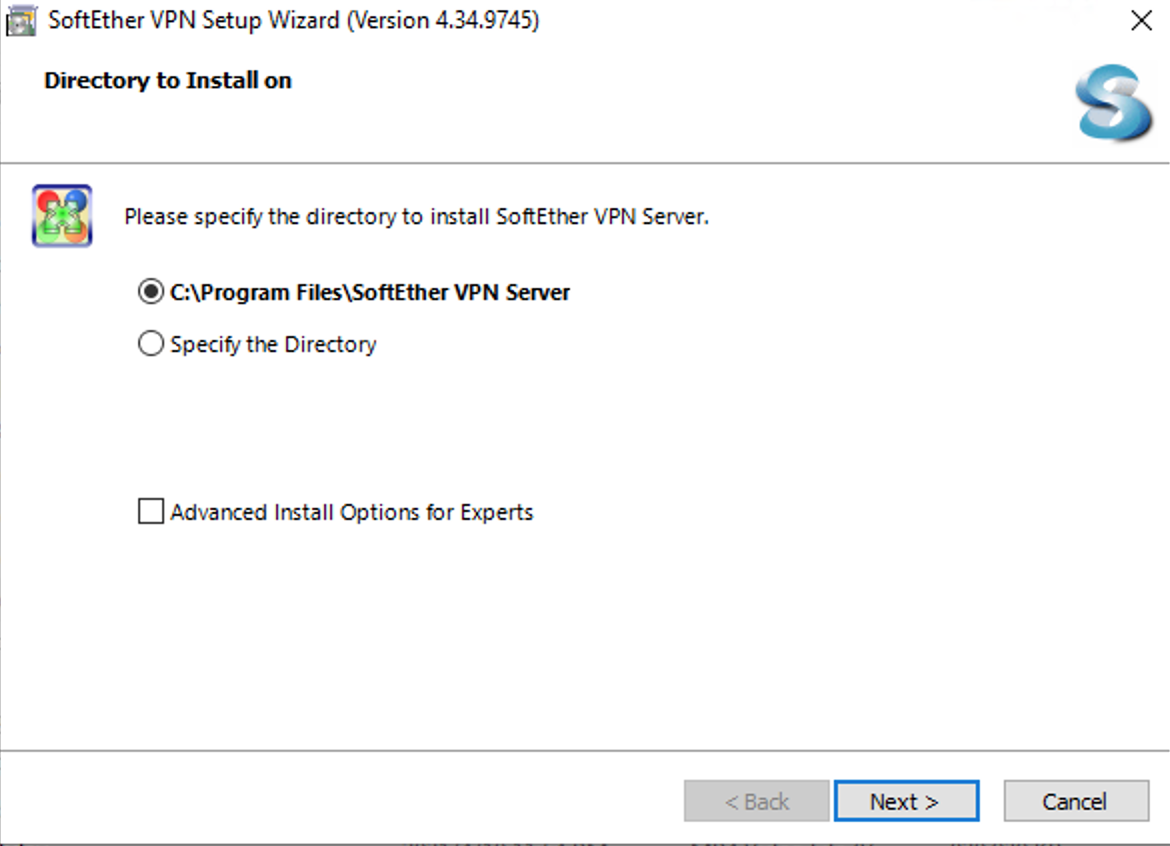
Step 5: Choosing the Installation Directory
Select the directory where the SoftEther VPN Server will be installed. The default path is typically suitable for most installations.
-
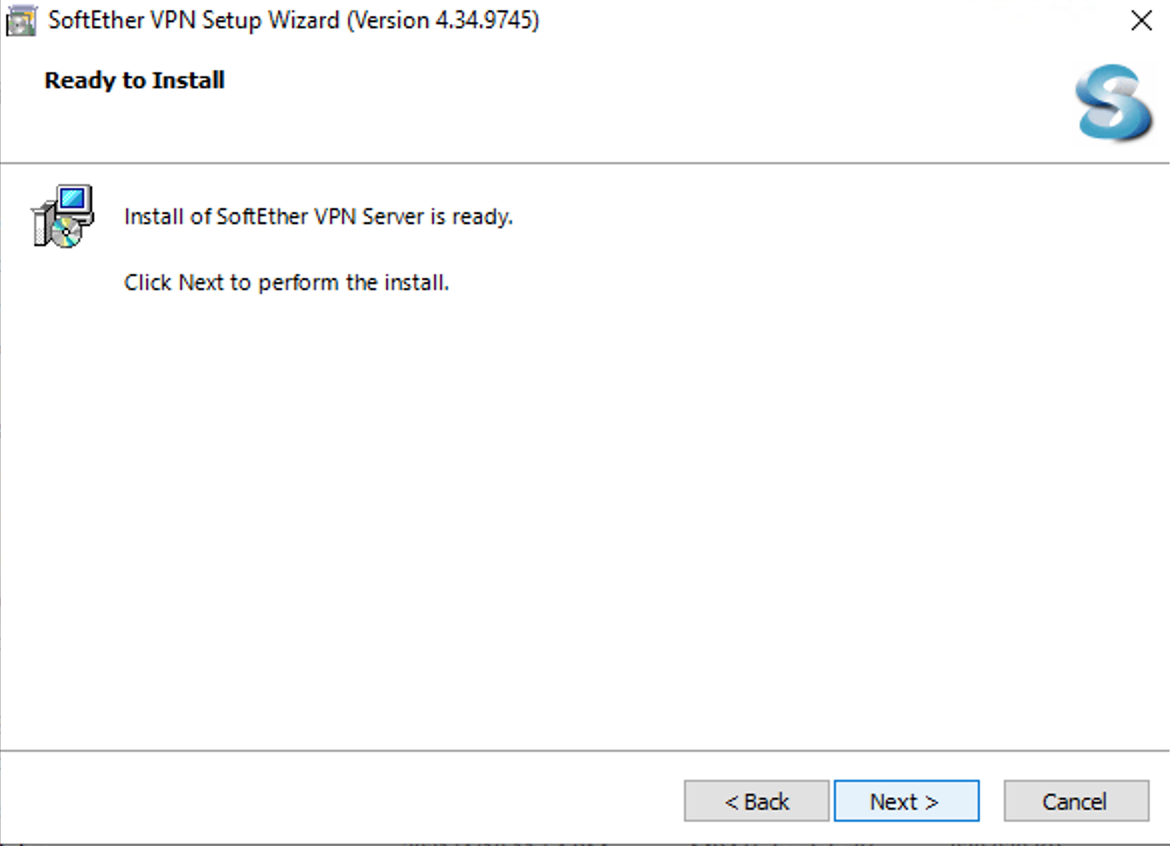
Step 6: Confirming the Ready to Install Status
Review your settings before installation. This is the final step before the setup begins the installation process on your machine.
-
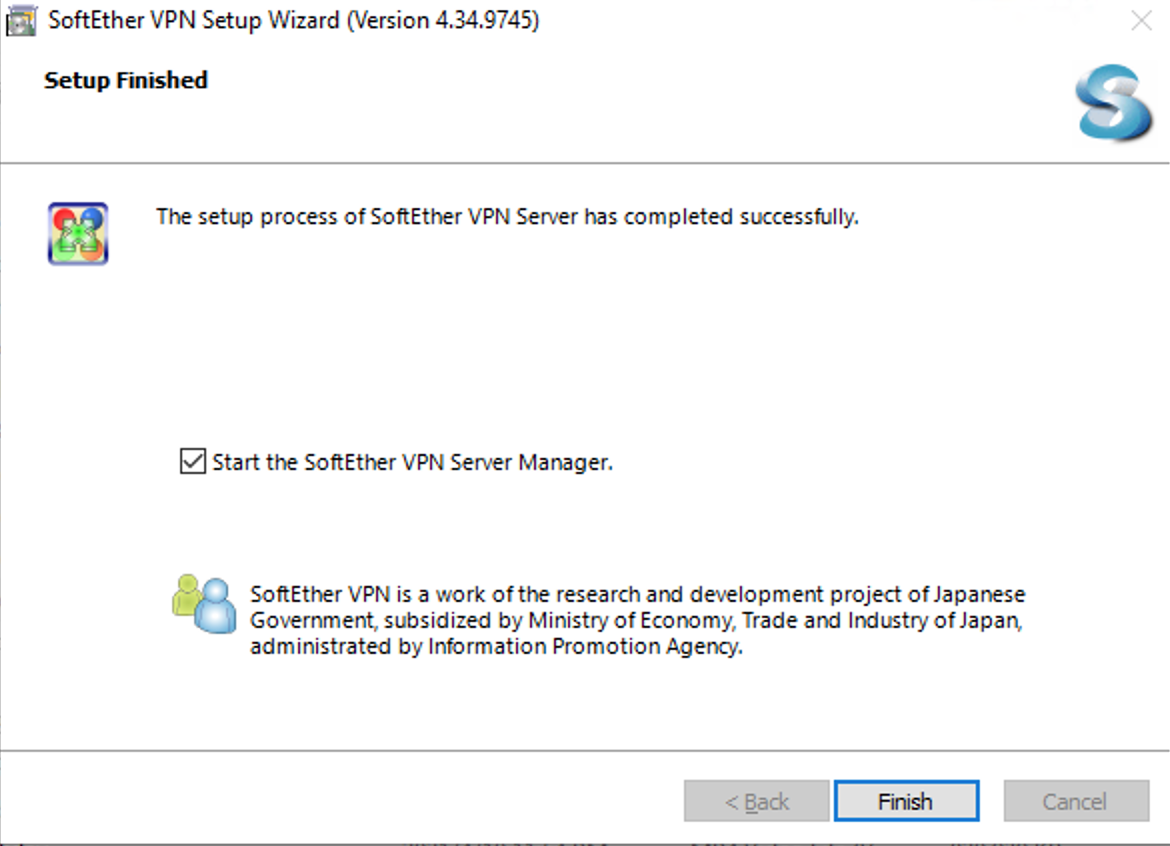
Step 7: Completing the Installation
Once the installation is complete, you may choose to start the SoftEther VPN Server Manager immediately. This tool will help you manage the server after setup.
-
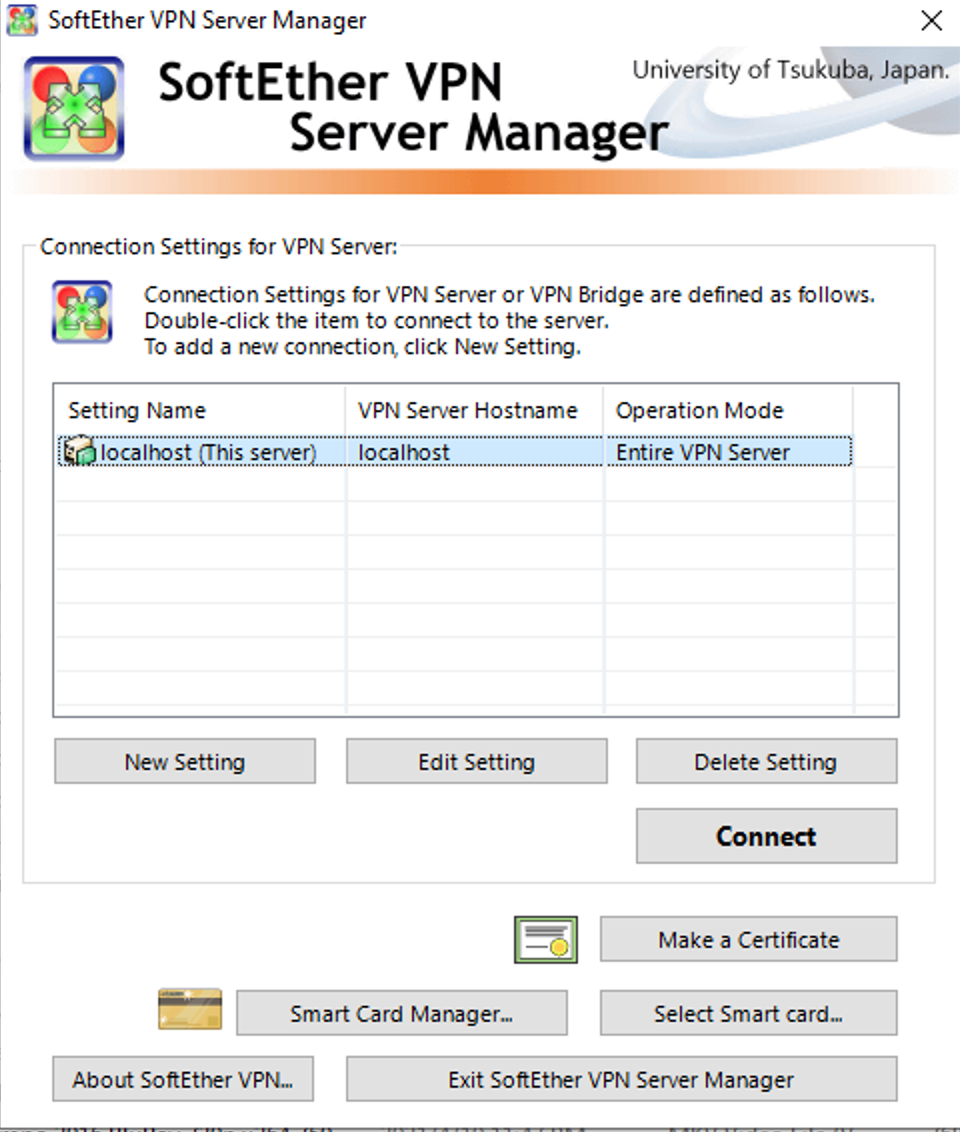
Step 8: Initial VPN Server Manager Window
Upon launching the VPN Server Manager, you will see the connection settings for your server. "localhost" indicates that the server is set up to be managed from the same machine it's installed on.
-
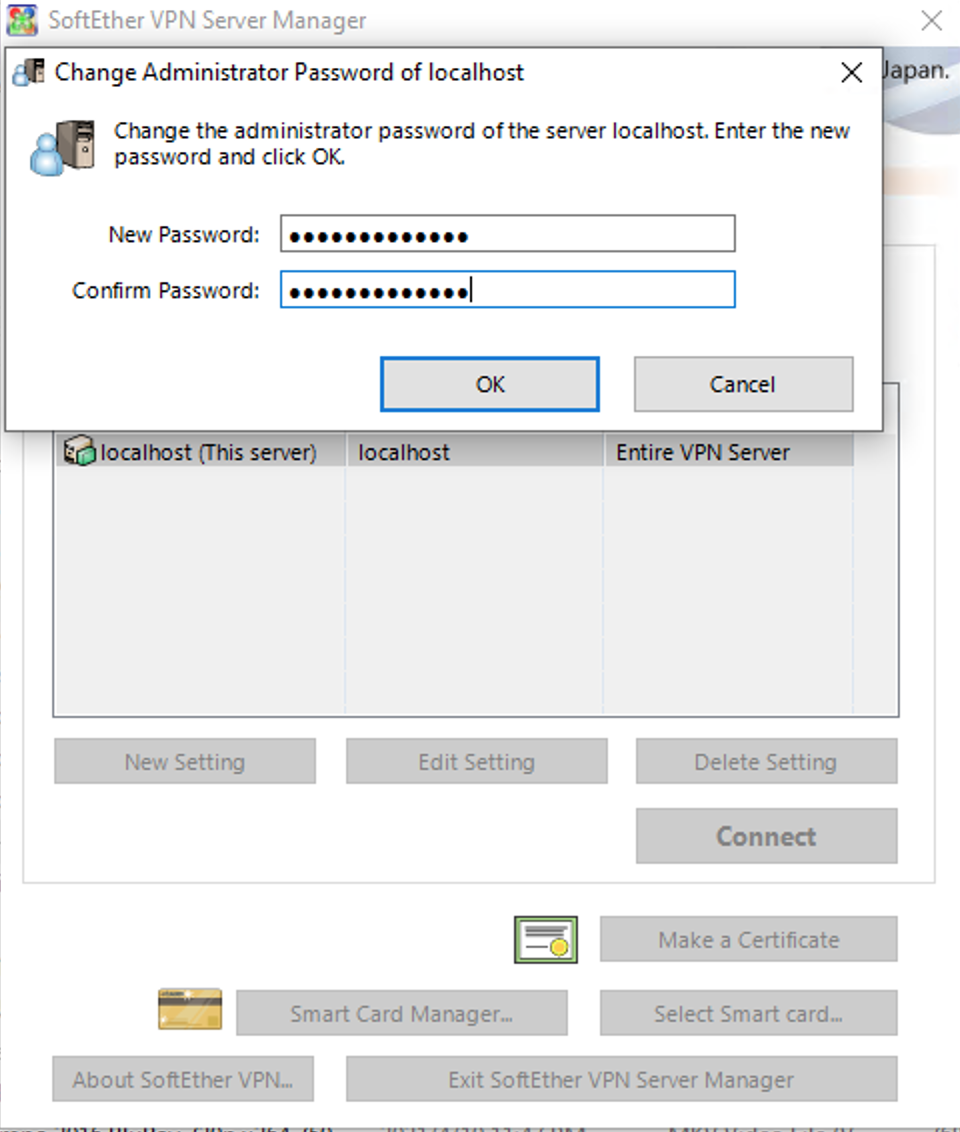
Step 9: Changing the Administrator's Password
For security purposes, you should change the administrator's password from the default setting. This step is crucial to ensure the security of your VPN server.
-
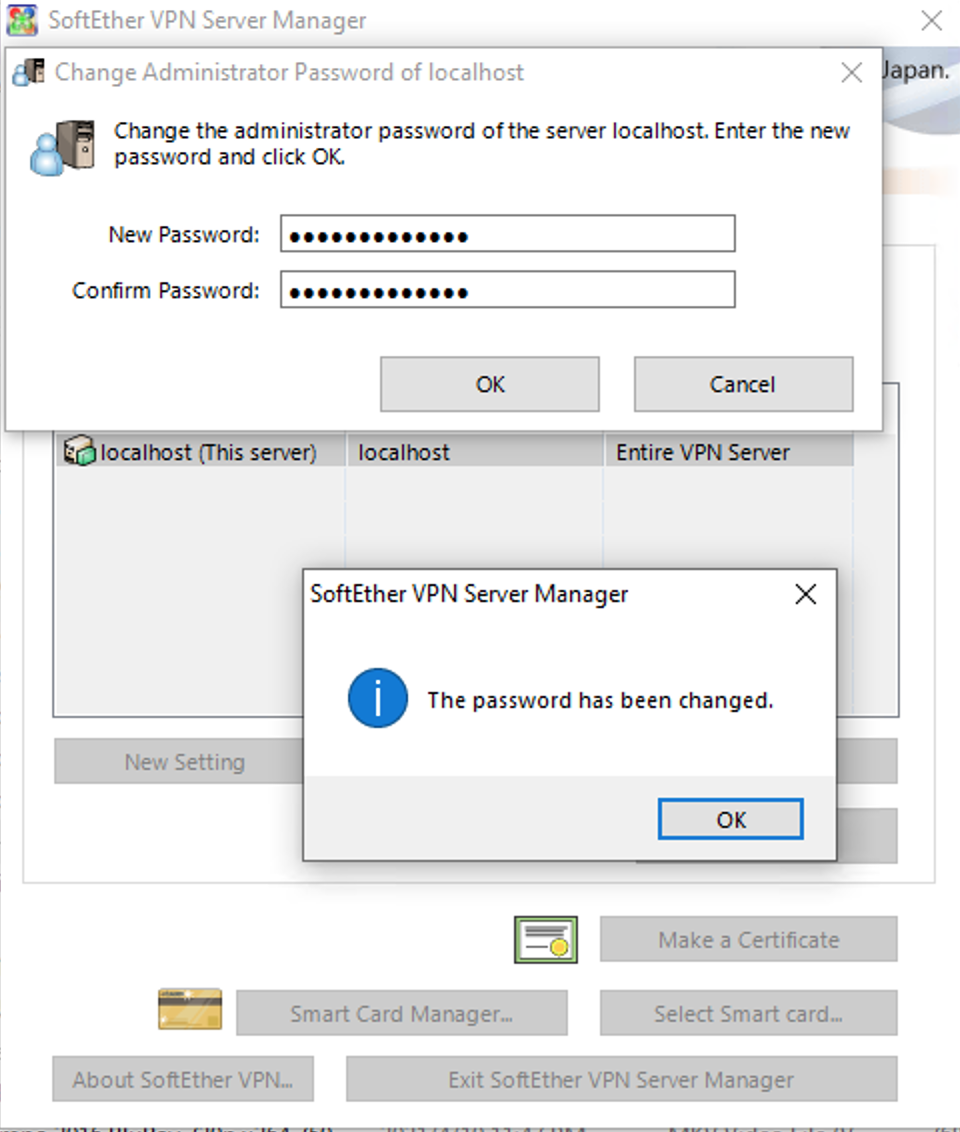
Step 10: Password Change Confirmation
After changing the password, you'll receive confirmation that it has been successfully updated. It's important to remember this password, as it is required to manage the VPN server.
-
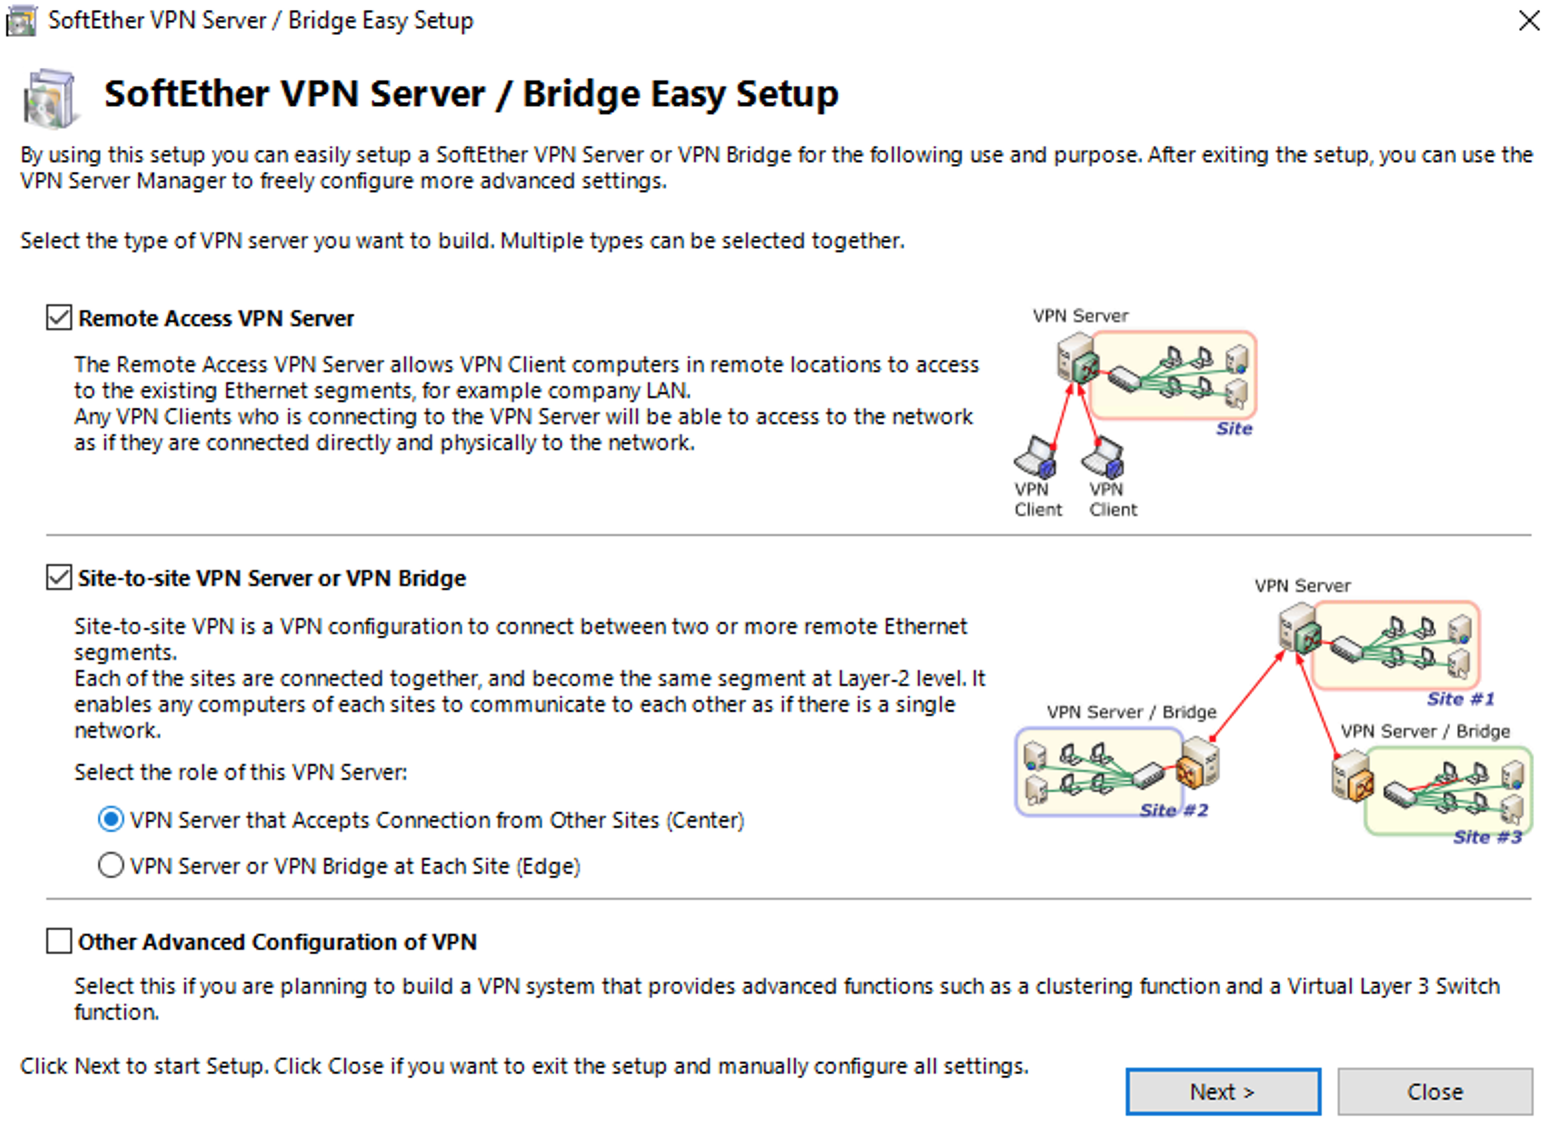
Step 11: Choosing VPN Server Type
Decide whether you want to configure a Remote Access VPN Server, which allows clients to connect to your network as if they were local, or a Site-to-Site VPN Server, which connects two or more remote networks.
-
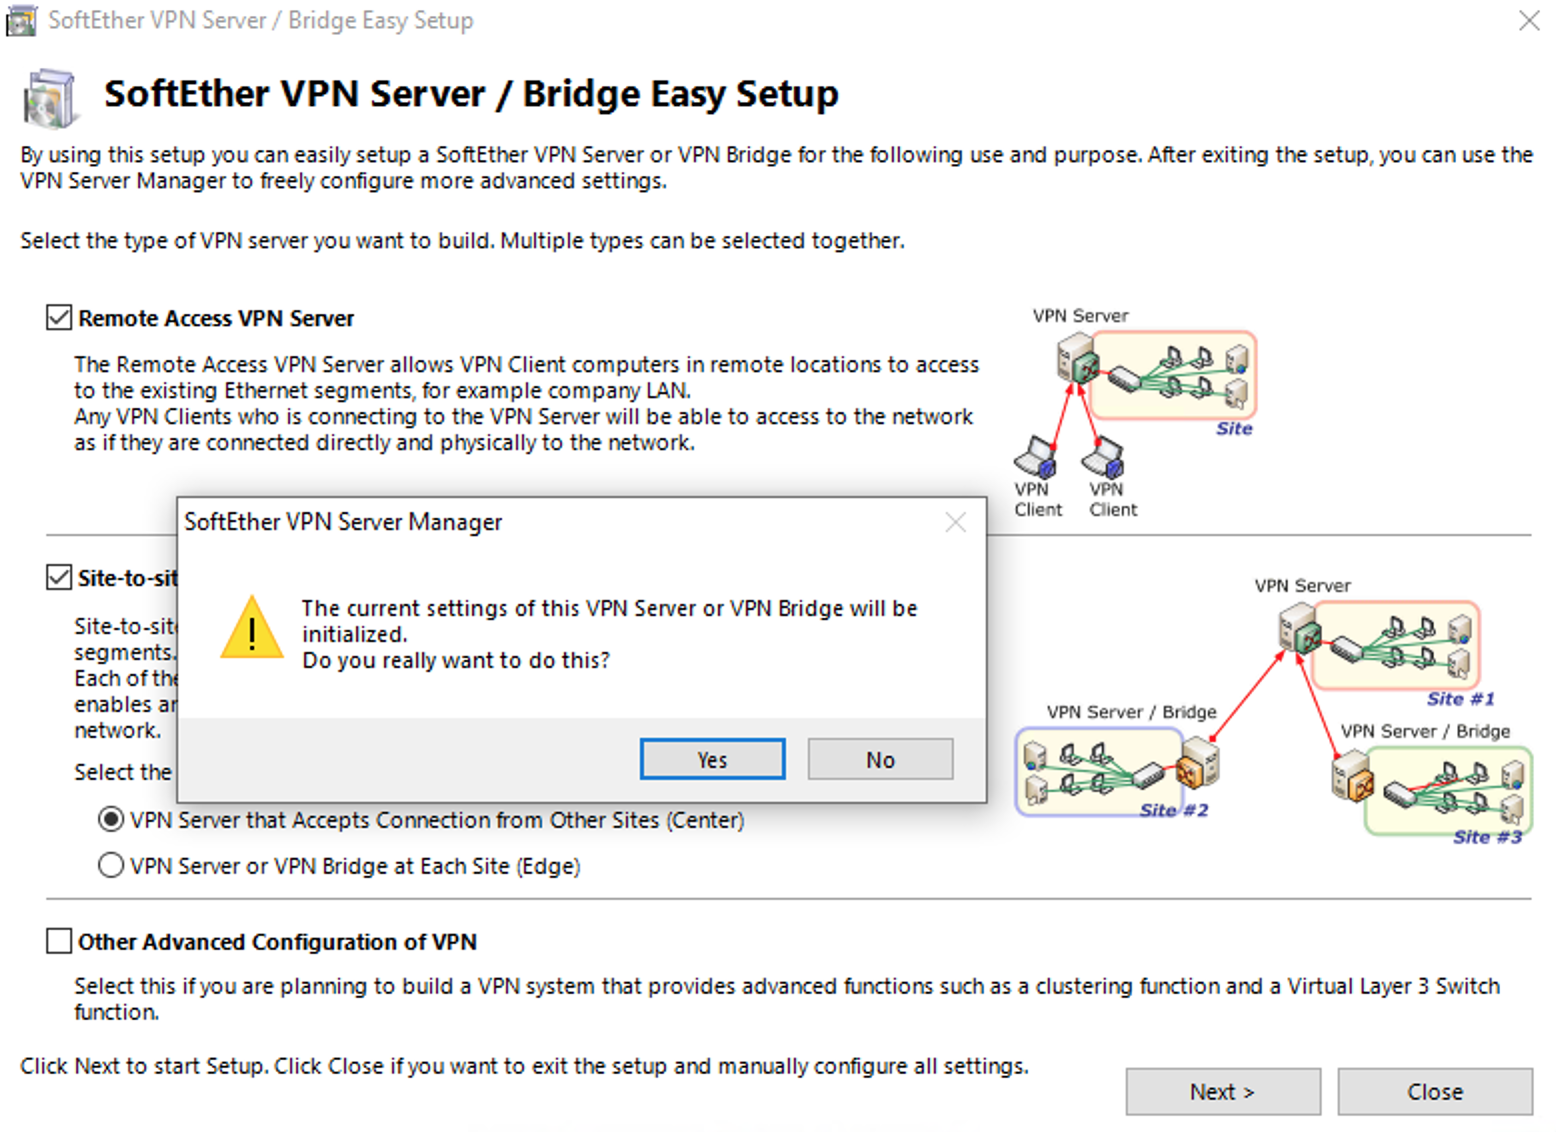
Step 12: Confirming Initialization
If you choose to set up a Site-to-Site VPN, you'll be prompted to initialize the settings. Confirm to proceed with the configuration.
-
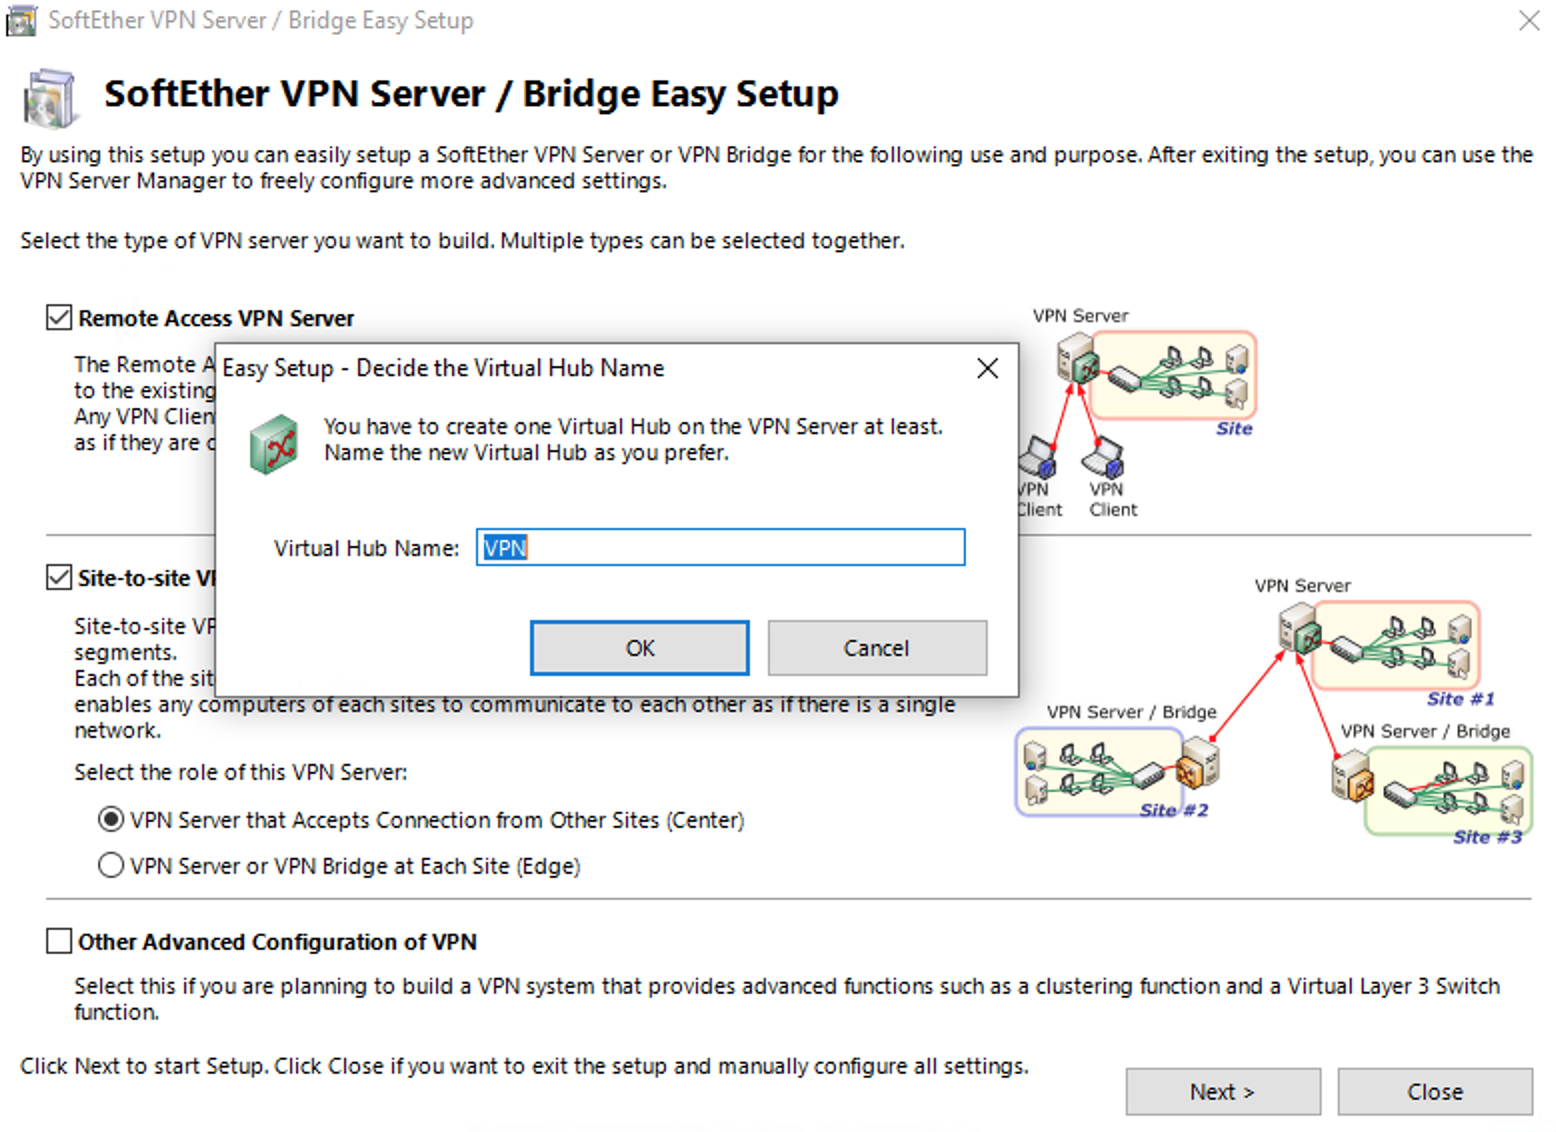
Step 13: Naming the Virtual Hub
Create a Virtual Hub on your VPN Server. This is a logical segmentation of your VPN and can be named according to your preference.
-
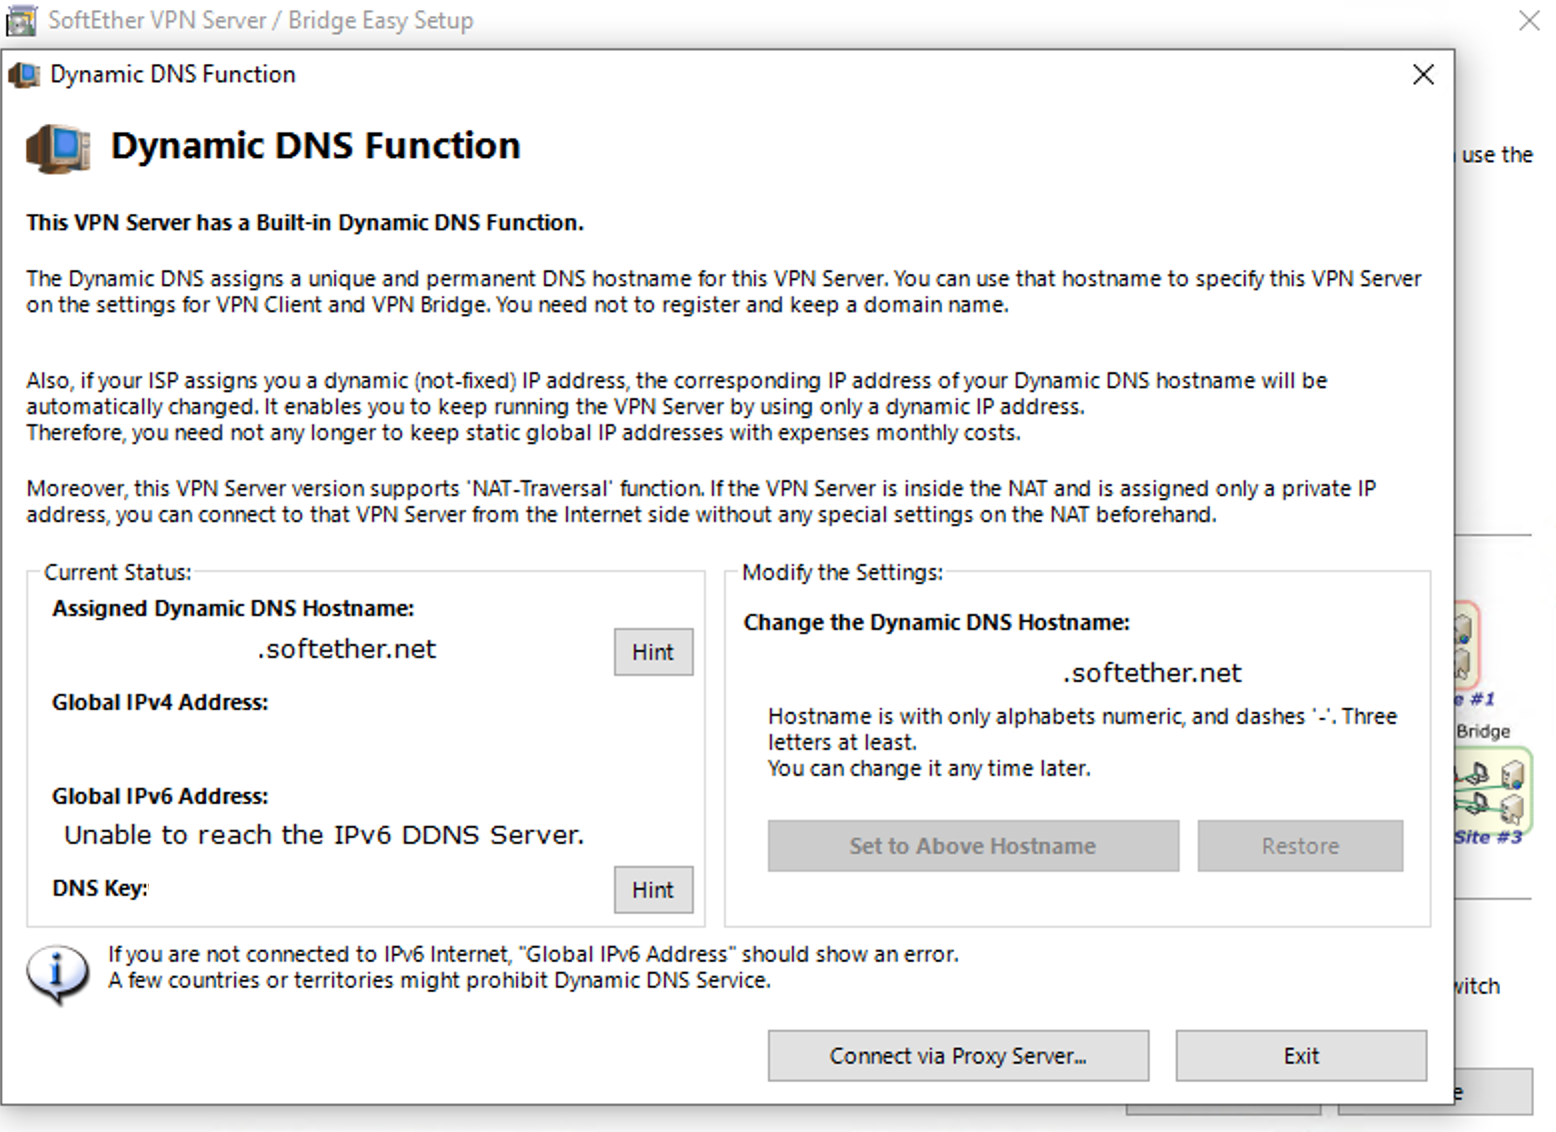
Step 14: Setting up Dynamic DNS
Configure the Dynamic DNS function. This allows you to assign a hostname to your VPN server, which is particularly useful if you don't have a static IP address.
-
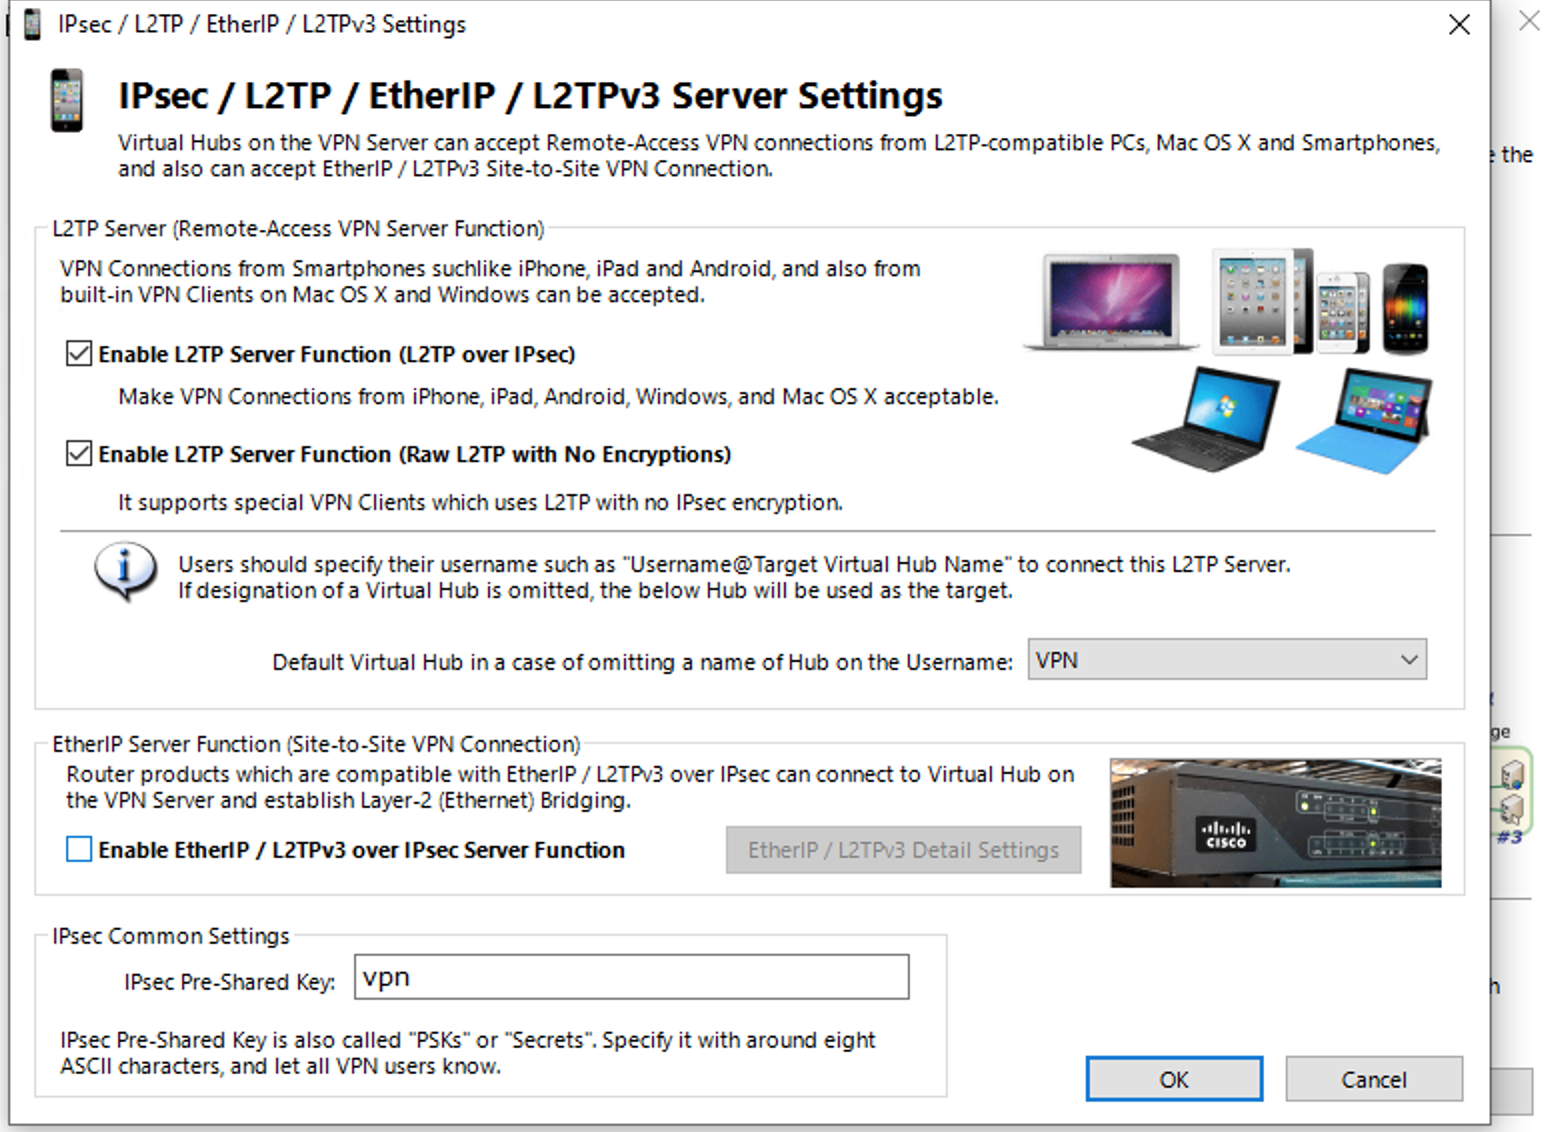
Step 15: Configuring L2TP/IPsec Settings
Here you can enable the L2TP server function over IPsec, allowing connections from various devices, including smartphones and computers. This step is crucial for compatibility with clients that support L2TP.
-
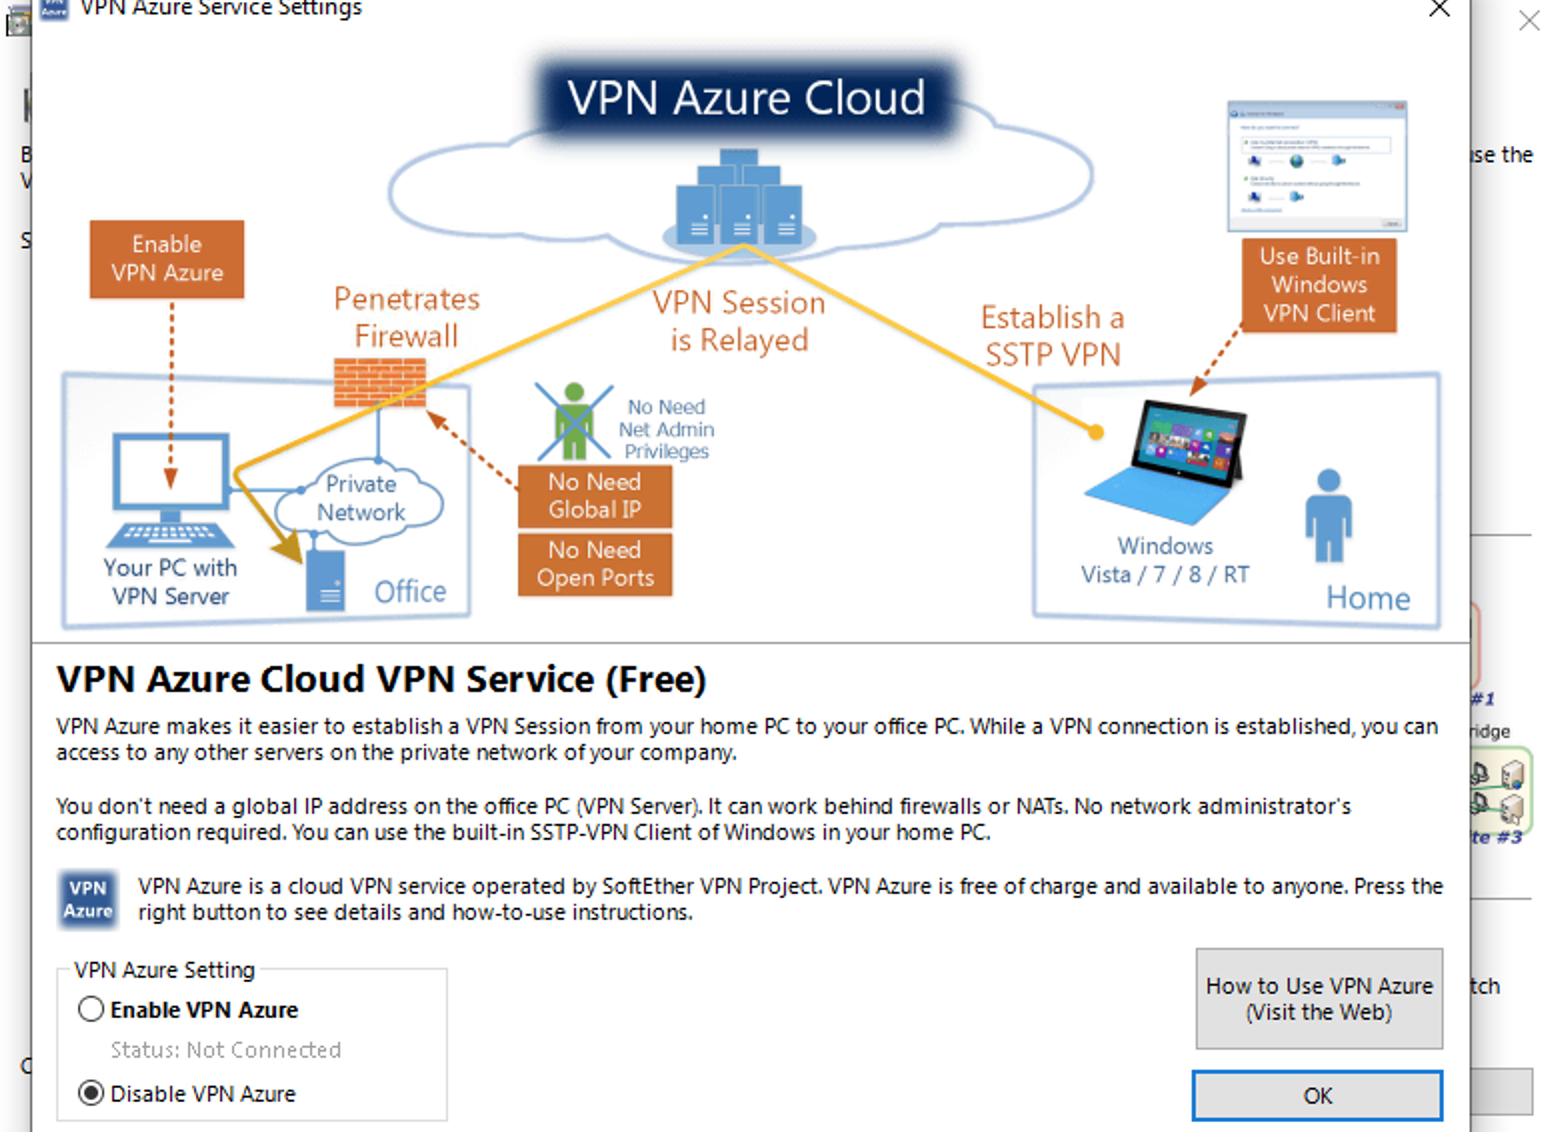
Step 16: Enabling VPN Azure
VPN Azure is a cloud service that helps you establish a VPN session if you are behind a NAT and don't have a global IP address. You can enable or disable it here.
-
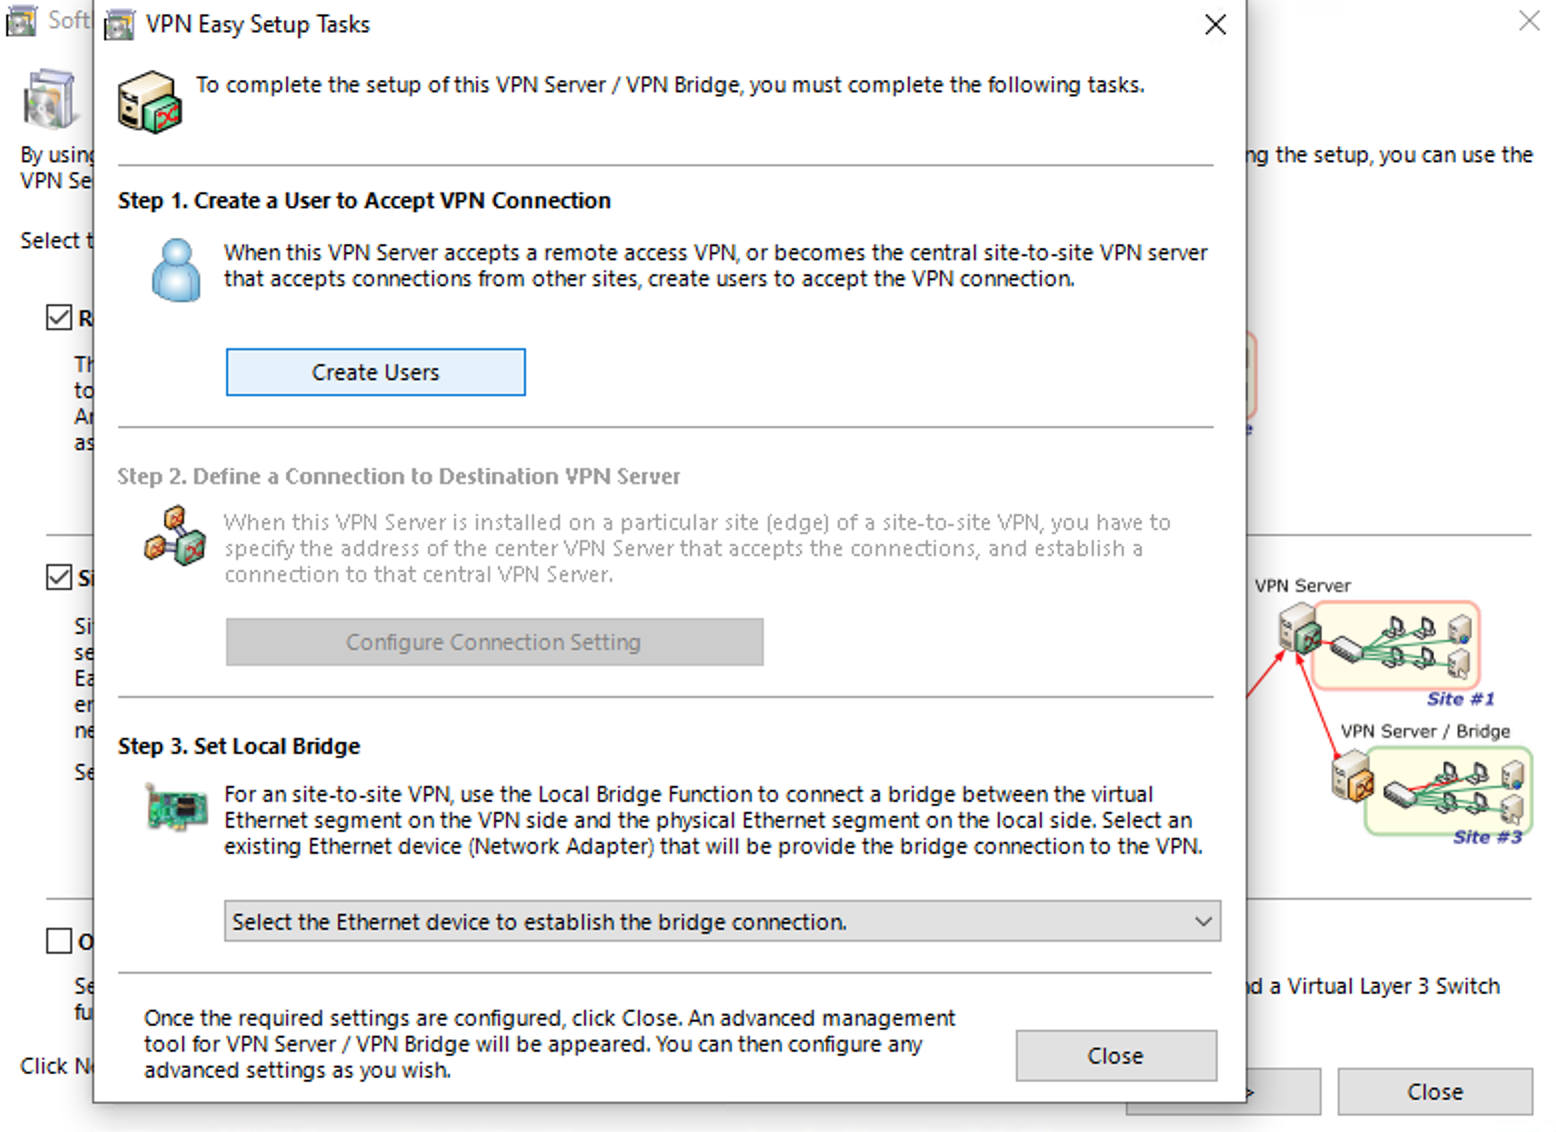
Step 17: Completing Easy Setup Tasks
This screen summarizes the setup tasks that need to be completed, such as creating user accounts and defining connections to destination VPN servers.
-
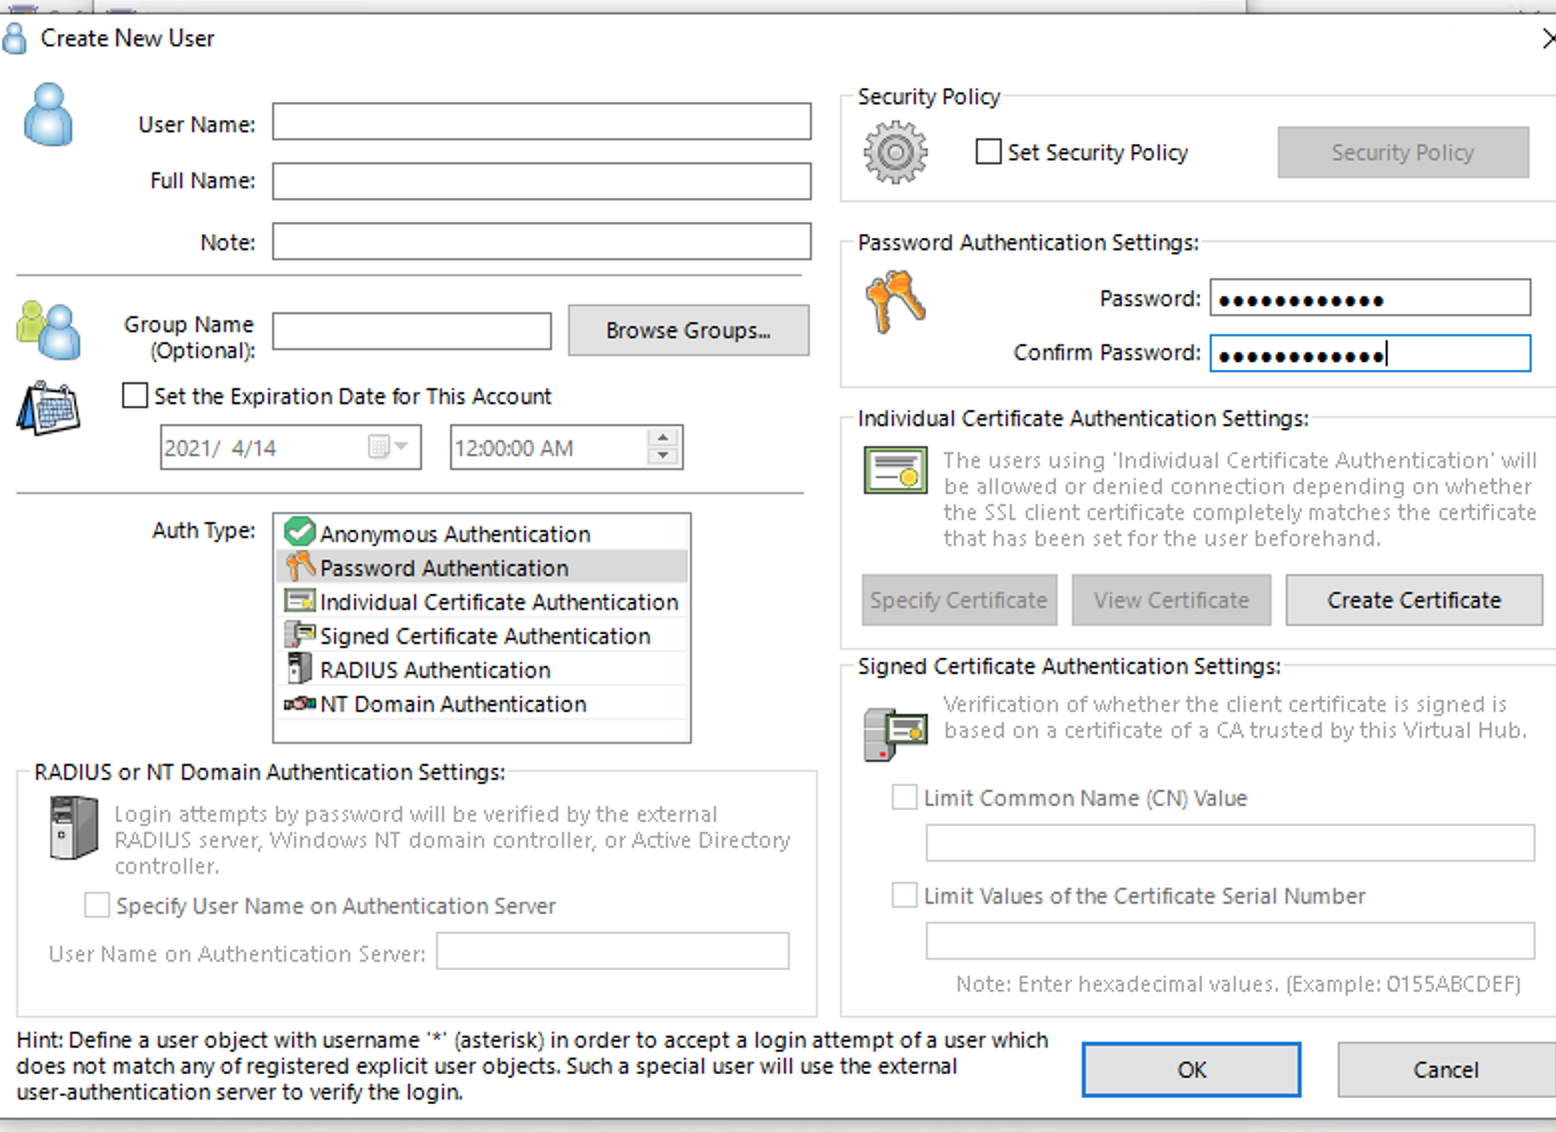
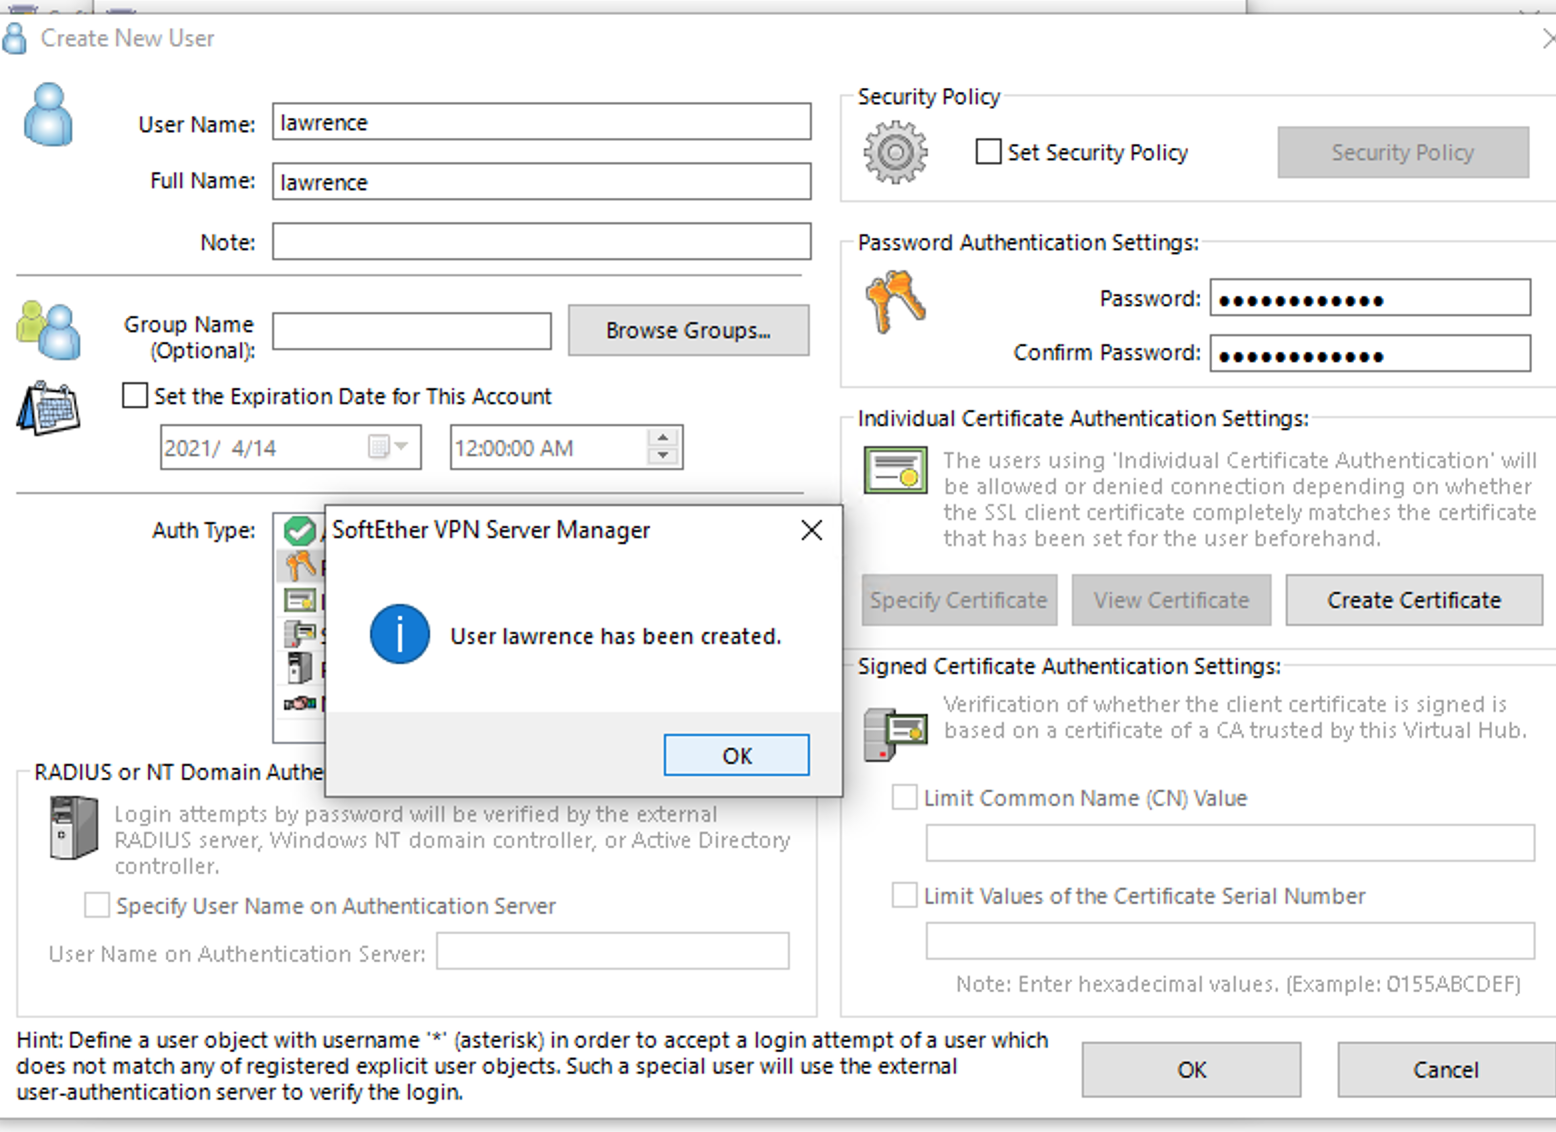
Step 18: Creating a User Account
Set up user accounts with authentication methods. You can choose from anonymous, password, certificate, and other authentication types according to your security policy.
-
Step 19: Confirming User Creation
After creating a new user, you'll receive a confirmation that the user has been successfully created. Ensure the details are correct and proceed.
-
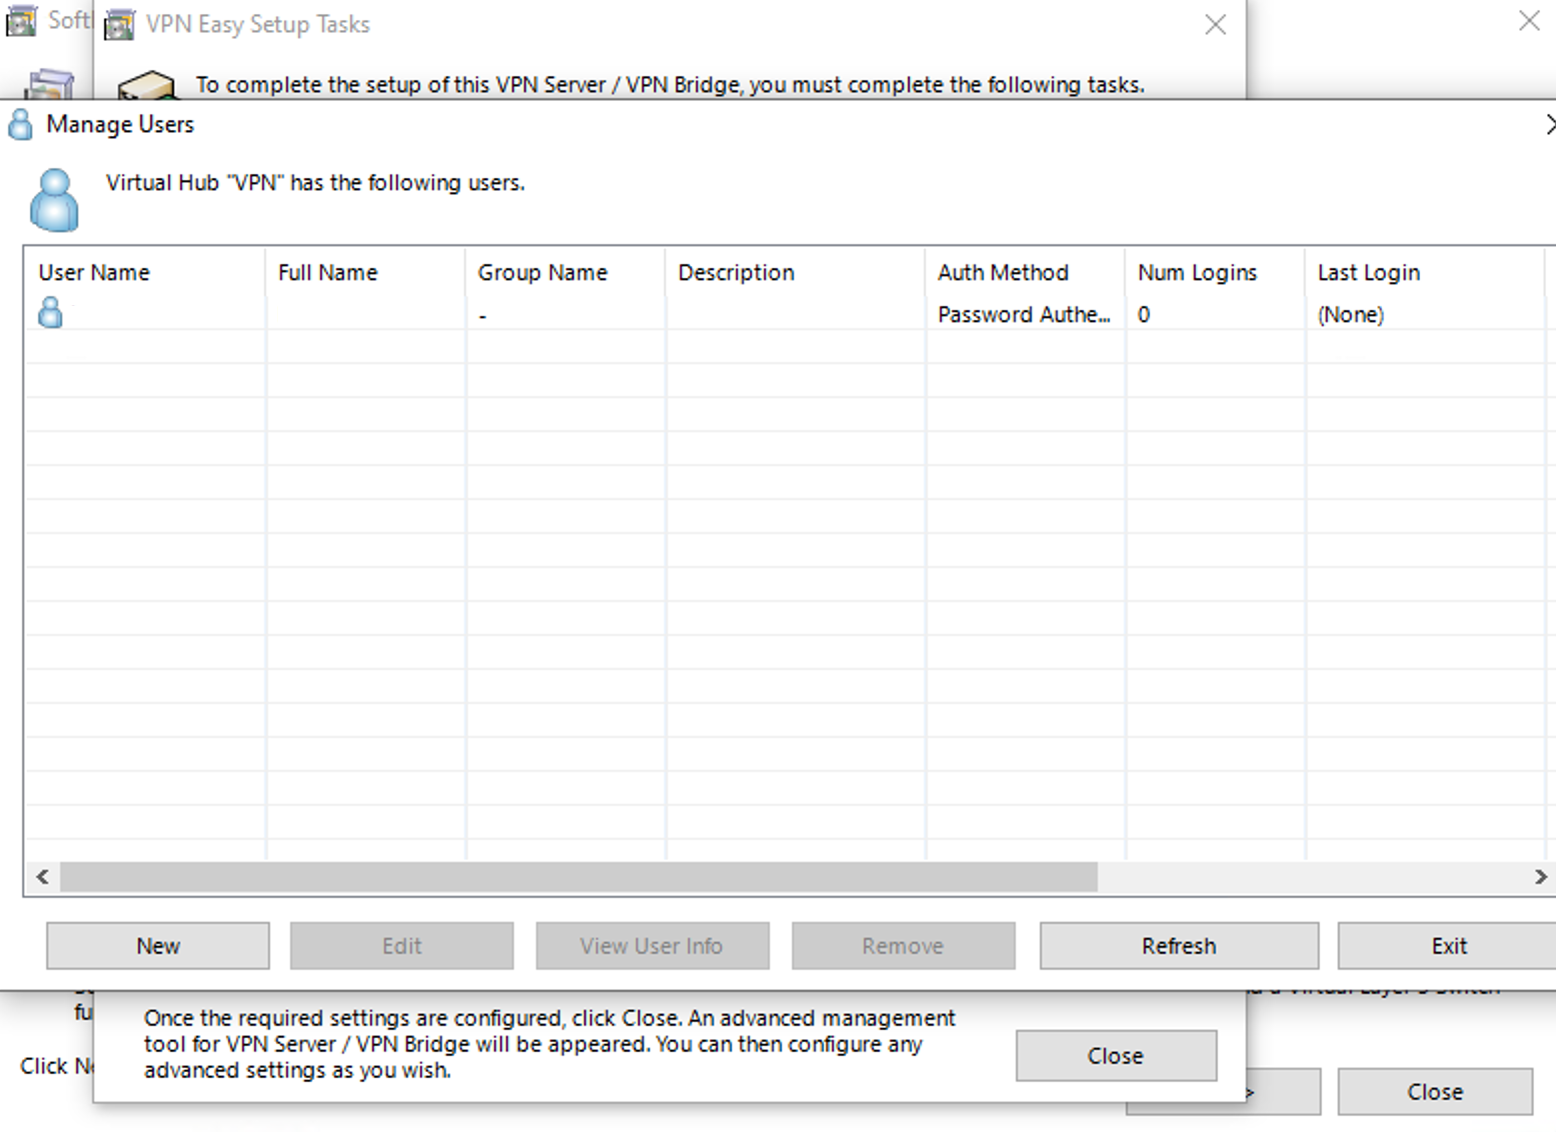
Step 20: Managing Users
The VPN Server Manager shows a list of users on the Virtual Hub. You can add, edit, or remove users and view their connection details from this interface.
-
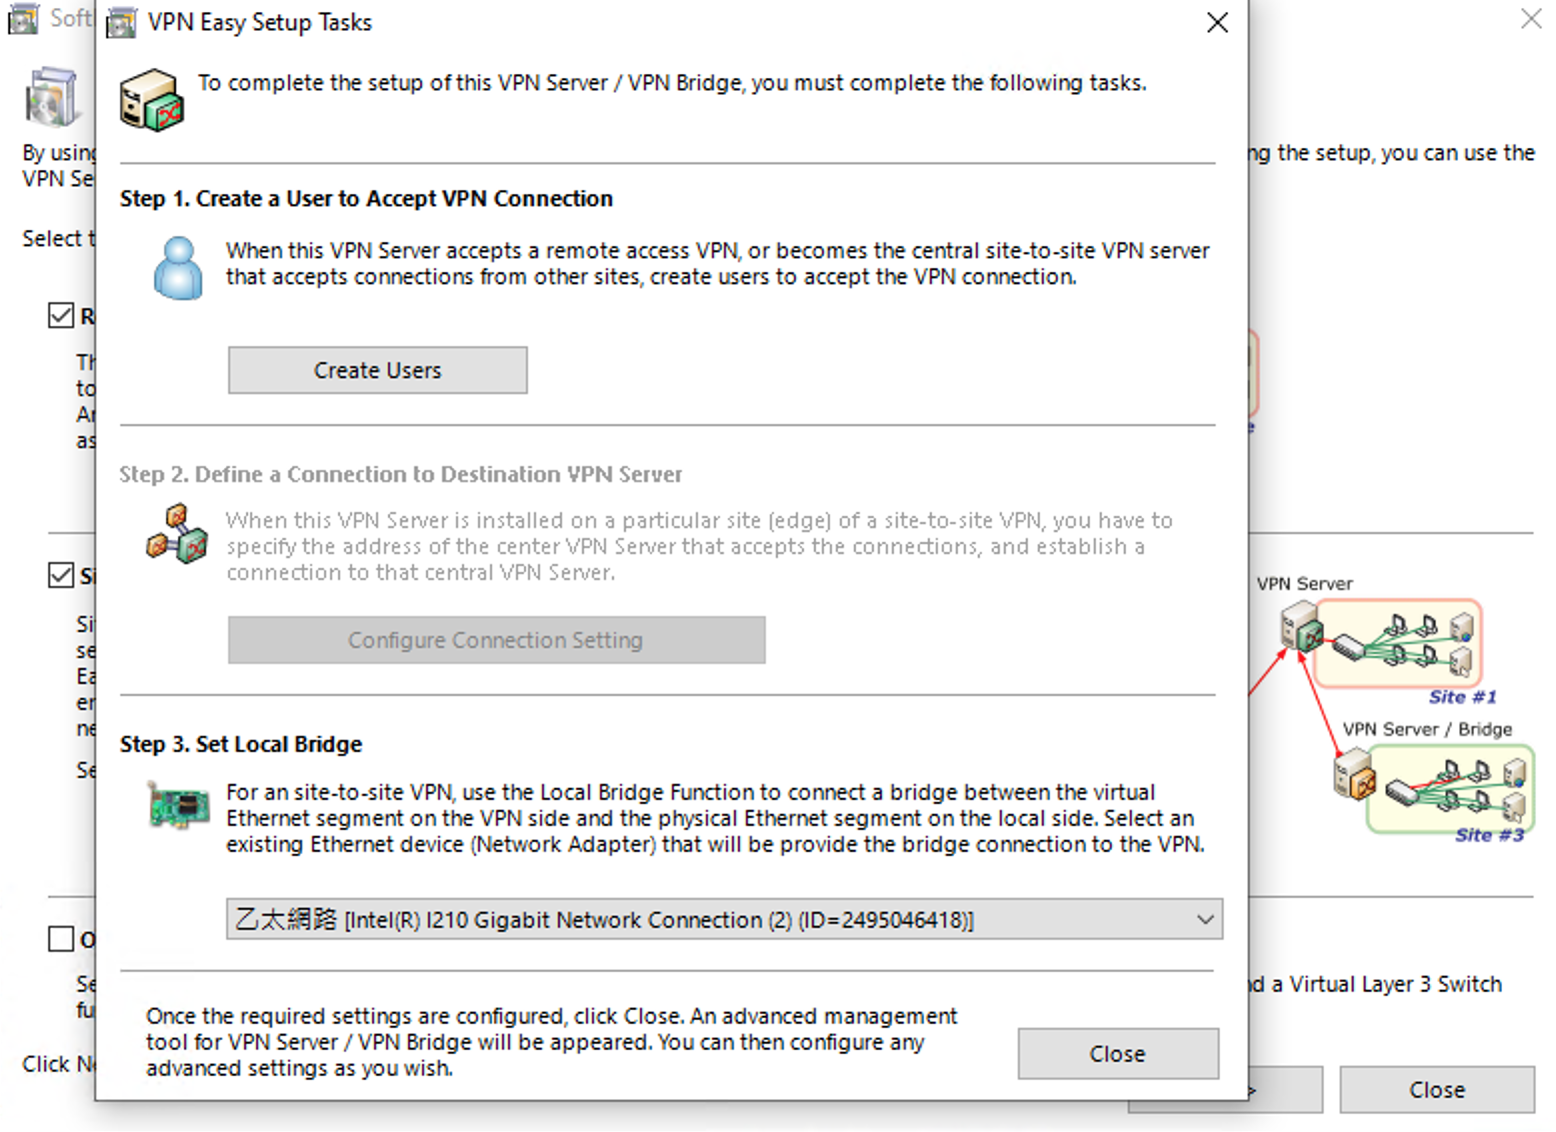
Step 21: VPN Easy Setup Tasks
After the initial setup, you are prompted to complete essential tasks such as creating a user to accept VPN connections, defining a connection to a destination VPN server, and setting up a local bridge for a site-to-site VPN.
-
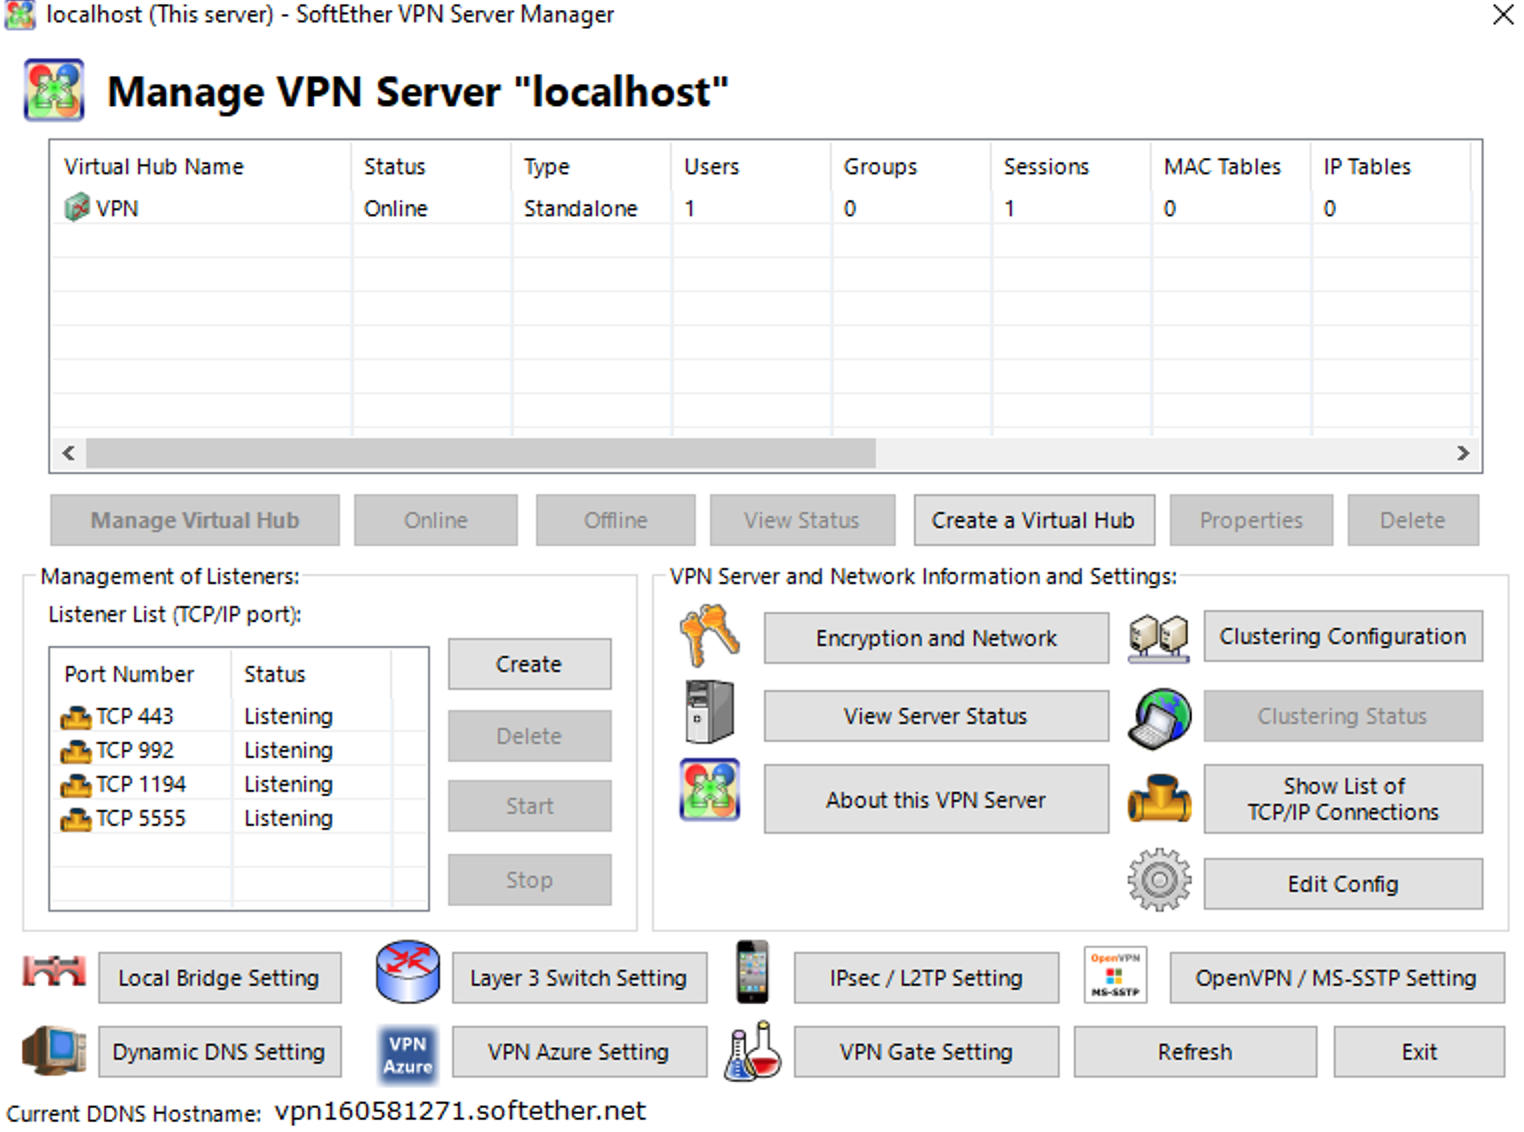
Step 22: Manage VPN Server
This screen shows the VPN Server Manager where you can manage virtual hubs, view connection status, handle advanced settings, and check the operational status of the server.
-
Step 23: Configuring Firewall Settings
In the Windows Defender Firewall settings, you need to ensure that inbound rules allow traffic for the SoftEther VPN Server. This is essential for the server to receive connections from clients.

-
Step 24: Setting Firewall Properties
Within the firewall rule properties, you can specify profiles, interface types, and edge traversal settings for the VPN server. "Allow edge traversal" is often enabled to allow traffic to pass through NAT devices.

-
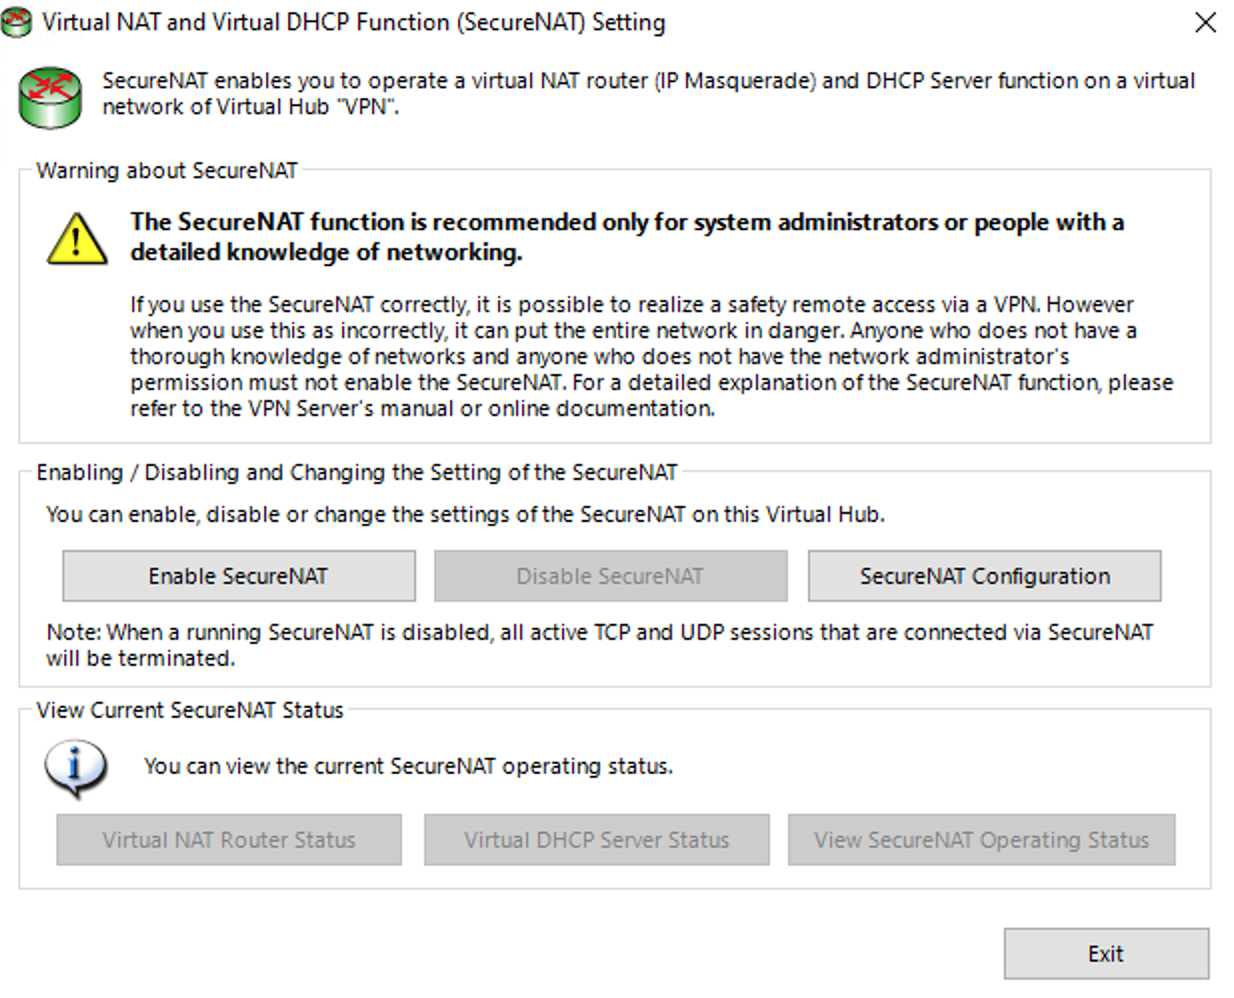
Step 25: Configuring SecureNAT
SecureNAT allows the VPN server to act as a virtual router with NAT and a DHCP server for the virtual network. This should be configured by users with detailed networking knowledge.
-
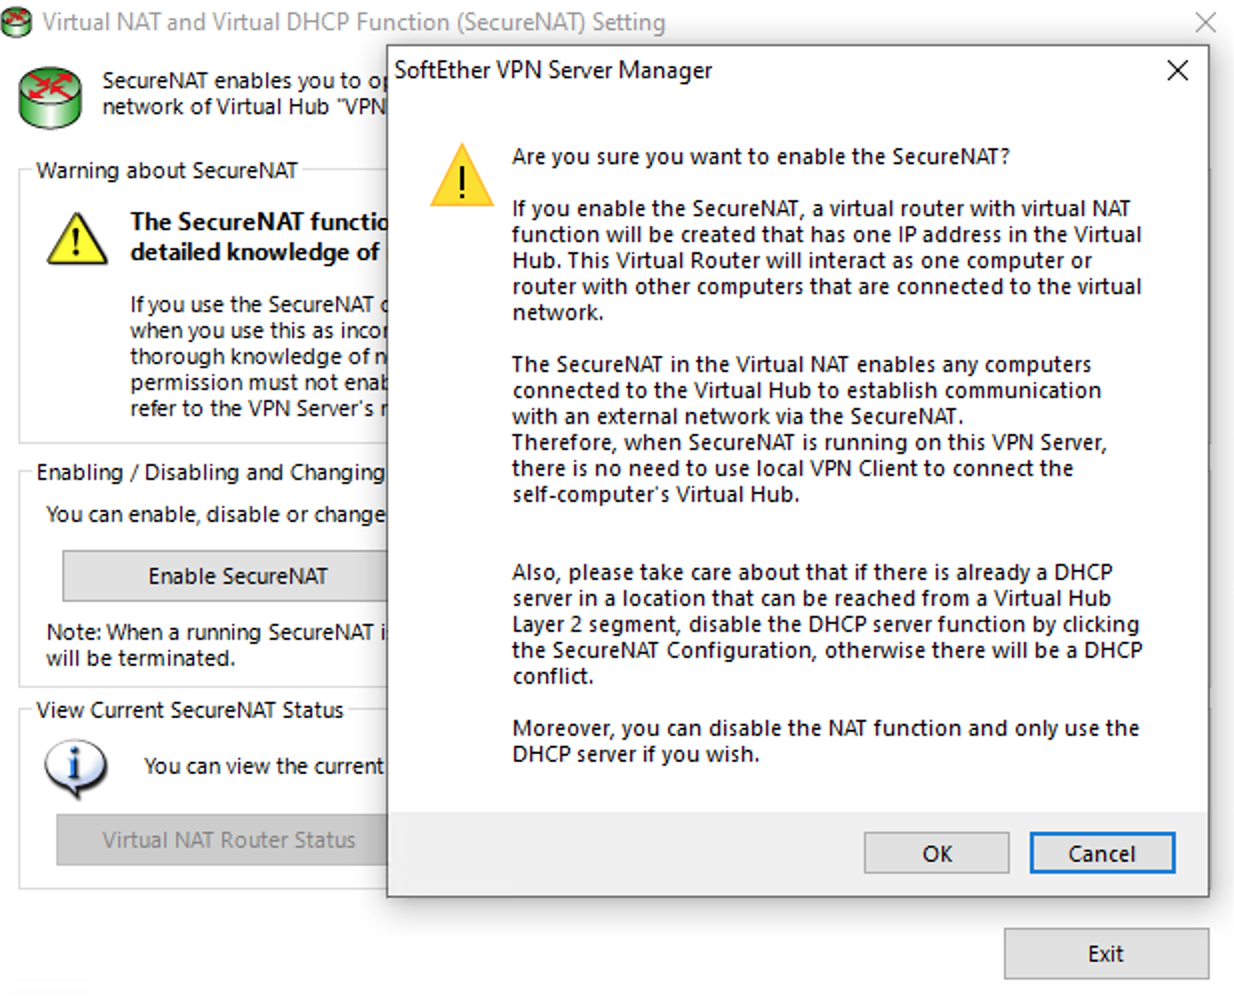
Step 26: Enabling SecureNAT
When you enable SecureNAT, a warning is shown emphasizing that SecureNAT is for advanced users. If you proceed, it will establish a virtual router within your VPN for better address management and routing capabilities.
Conclusion
With the steps outlined in this guide, you've just navigated the complexities of setting up a SoftEther VPN Server on your Windows 10 machine. From installing the software to configuring the firewall, you've laid the groundwork for a secure and flexible network environment that caters to various scenarios, be it for remote access or connecting multiple sites.
The strength of SoftEther VPN lies in its versatility and the rich set of features it offers, all without incurring the costs usually associated with enterprise VPN solutions. Whether you're looking to secure your internet connection, access resources remotely, or link together different network segments, SoftEther provides a reliable and robust platform to meet those needs.
Remember, while the technical process might seem intricate, the peace of mind and security benefits that come with a properly configured VPN are invaluable. As you move forward, keep your server updated, monitor your connections, and adjust your configurations as your networking needs evolve.
We hope this guide has been a valuable resource in your journey to enhanced network security and functionality. If you have any further questions or require more detailed explanations, the SoftEther community and documentation are excellent resources for ongoing support.
Stay secure and connected!