The Jupyter Notebook is an open-source web application that allows you to create and share documents that contain live code, equations, visualizations and narrative text. In this post, I will demonstrate how to setup a public Jupyter Notebook Server with self-signed HTTPs.
Prerequisite
Python3
pip3
Install and Setup Jupyter Notebook
You can install Jupyter with pip3.
$ sudo pip3 install jupyter
Beyond the default configuration settings, you can configure a rich array of options to suit your workflow. To create a jupyter_notebook_config.py file in the .jupyter directory, with all the defaults commented out, use the following command:
$ jupyter notebook --generate-config
First prepare a hashed password using the function notebook.auth.security.passwd().
$ python3
Python 3.5.2 (default, Nov 12 2018, 13:43:14)[GCC 5.4.0 20160609] on linux
Type "help", "copyright", "credits" or "license"for more information.
>>> from notebook.auth import passwd
>>> passwd()
Enter password:
Verify password:
'sha1:67c9e60bb8b6:9ffede0825894254b2e042ea597d771089e11aed'>>>exit()
To use SSL for encrypted communication, a self-signed certificate can be generated with openssl.
Move to your working directory and type the following command.
$ jupyter notebook
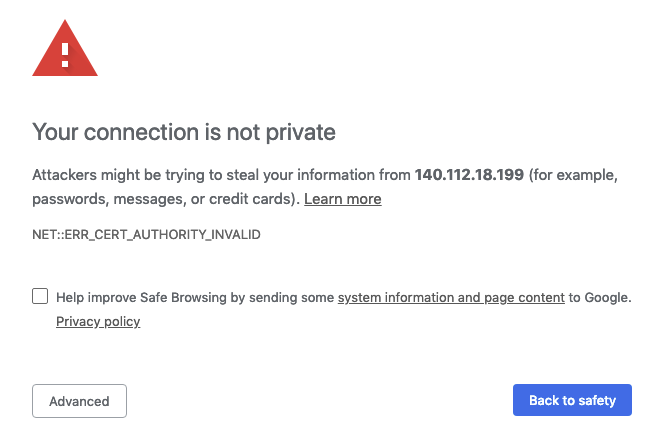
Now you can access your Jupyter Notebook with https://ip.to.your.server:8888/. Noted that the https at the front and the default port is 8888. Since the certification is self-signed, there will be a warning from the browser. Just click on Advance and Proceed to ip.to.your.server (unsafe) and you are ready to go.
Conclusion
Jupyter Notebook has supprot for over 40 programming languages, including Python, R, Julia, and Scala. Now you can check out here.