Rasberry Pi Unboxing
Introduction
Recently, I got to know about internet, wireless communication, and internet of things, and the raspberry pi servers as a very physical tools to practice, such as building a wifi proxy that would intersect messages transferred, anonymizing Tor proxy, and wifi speed detection.
Model
For the very first time to buy a development board, it's naturally easy to think of the famous raspberry pi. Browsing the official website of the raspberry pi, there's a brief intruduction about the hardware model Raspberry Pi 2 Model B.
Comparing with the three models, Raspberry Pi 1 Model B, Raspberry Pi 1 Model B+, and Raspberry Pi 2 Model, there are much progress between Model B and Model B+.
Model B has 512 MB of RAM and only USB ports. Compared to Model B, Model B+ has:
Comparing with the three models, Raspberry Pi 1 Model B, Raspberry Pi 1 Model B+, and Raspberry Pi 2 Model, there are much progress between Model B and Model B+.
Model B has 512 MB of RAM and only USB ports. Compared to Model B, Model B+ has:
- 40 GPIO (General-prupose input/output)
- 4 USB 2.0 ports
- Micro SD
- Lower power consumption
- 900MHz quad-core ARM Cortex-A7 CPU
- 1GB RAM
Unboxing
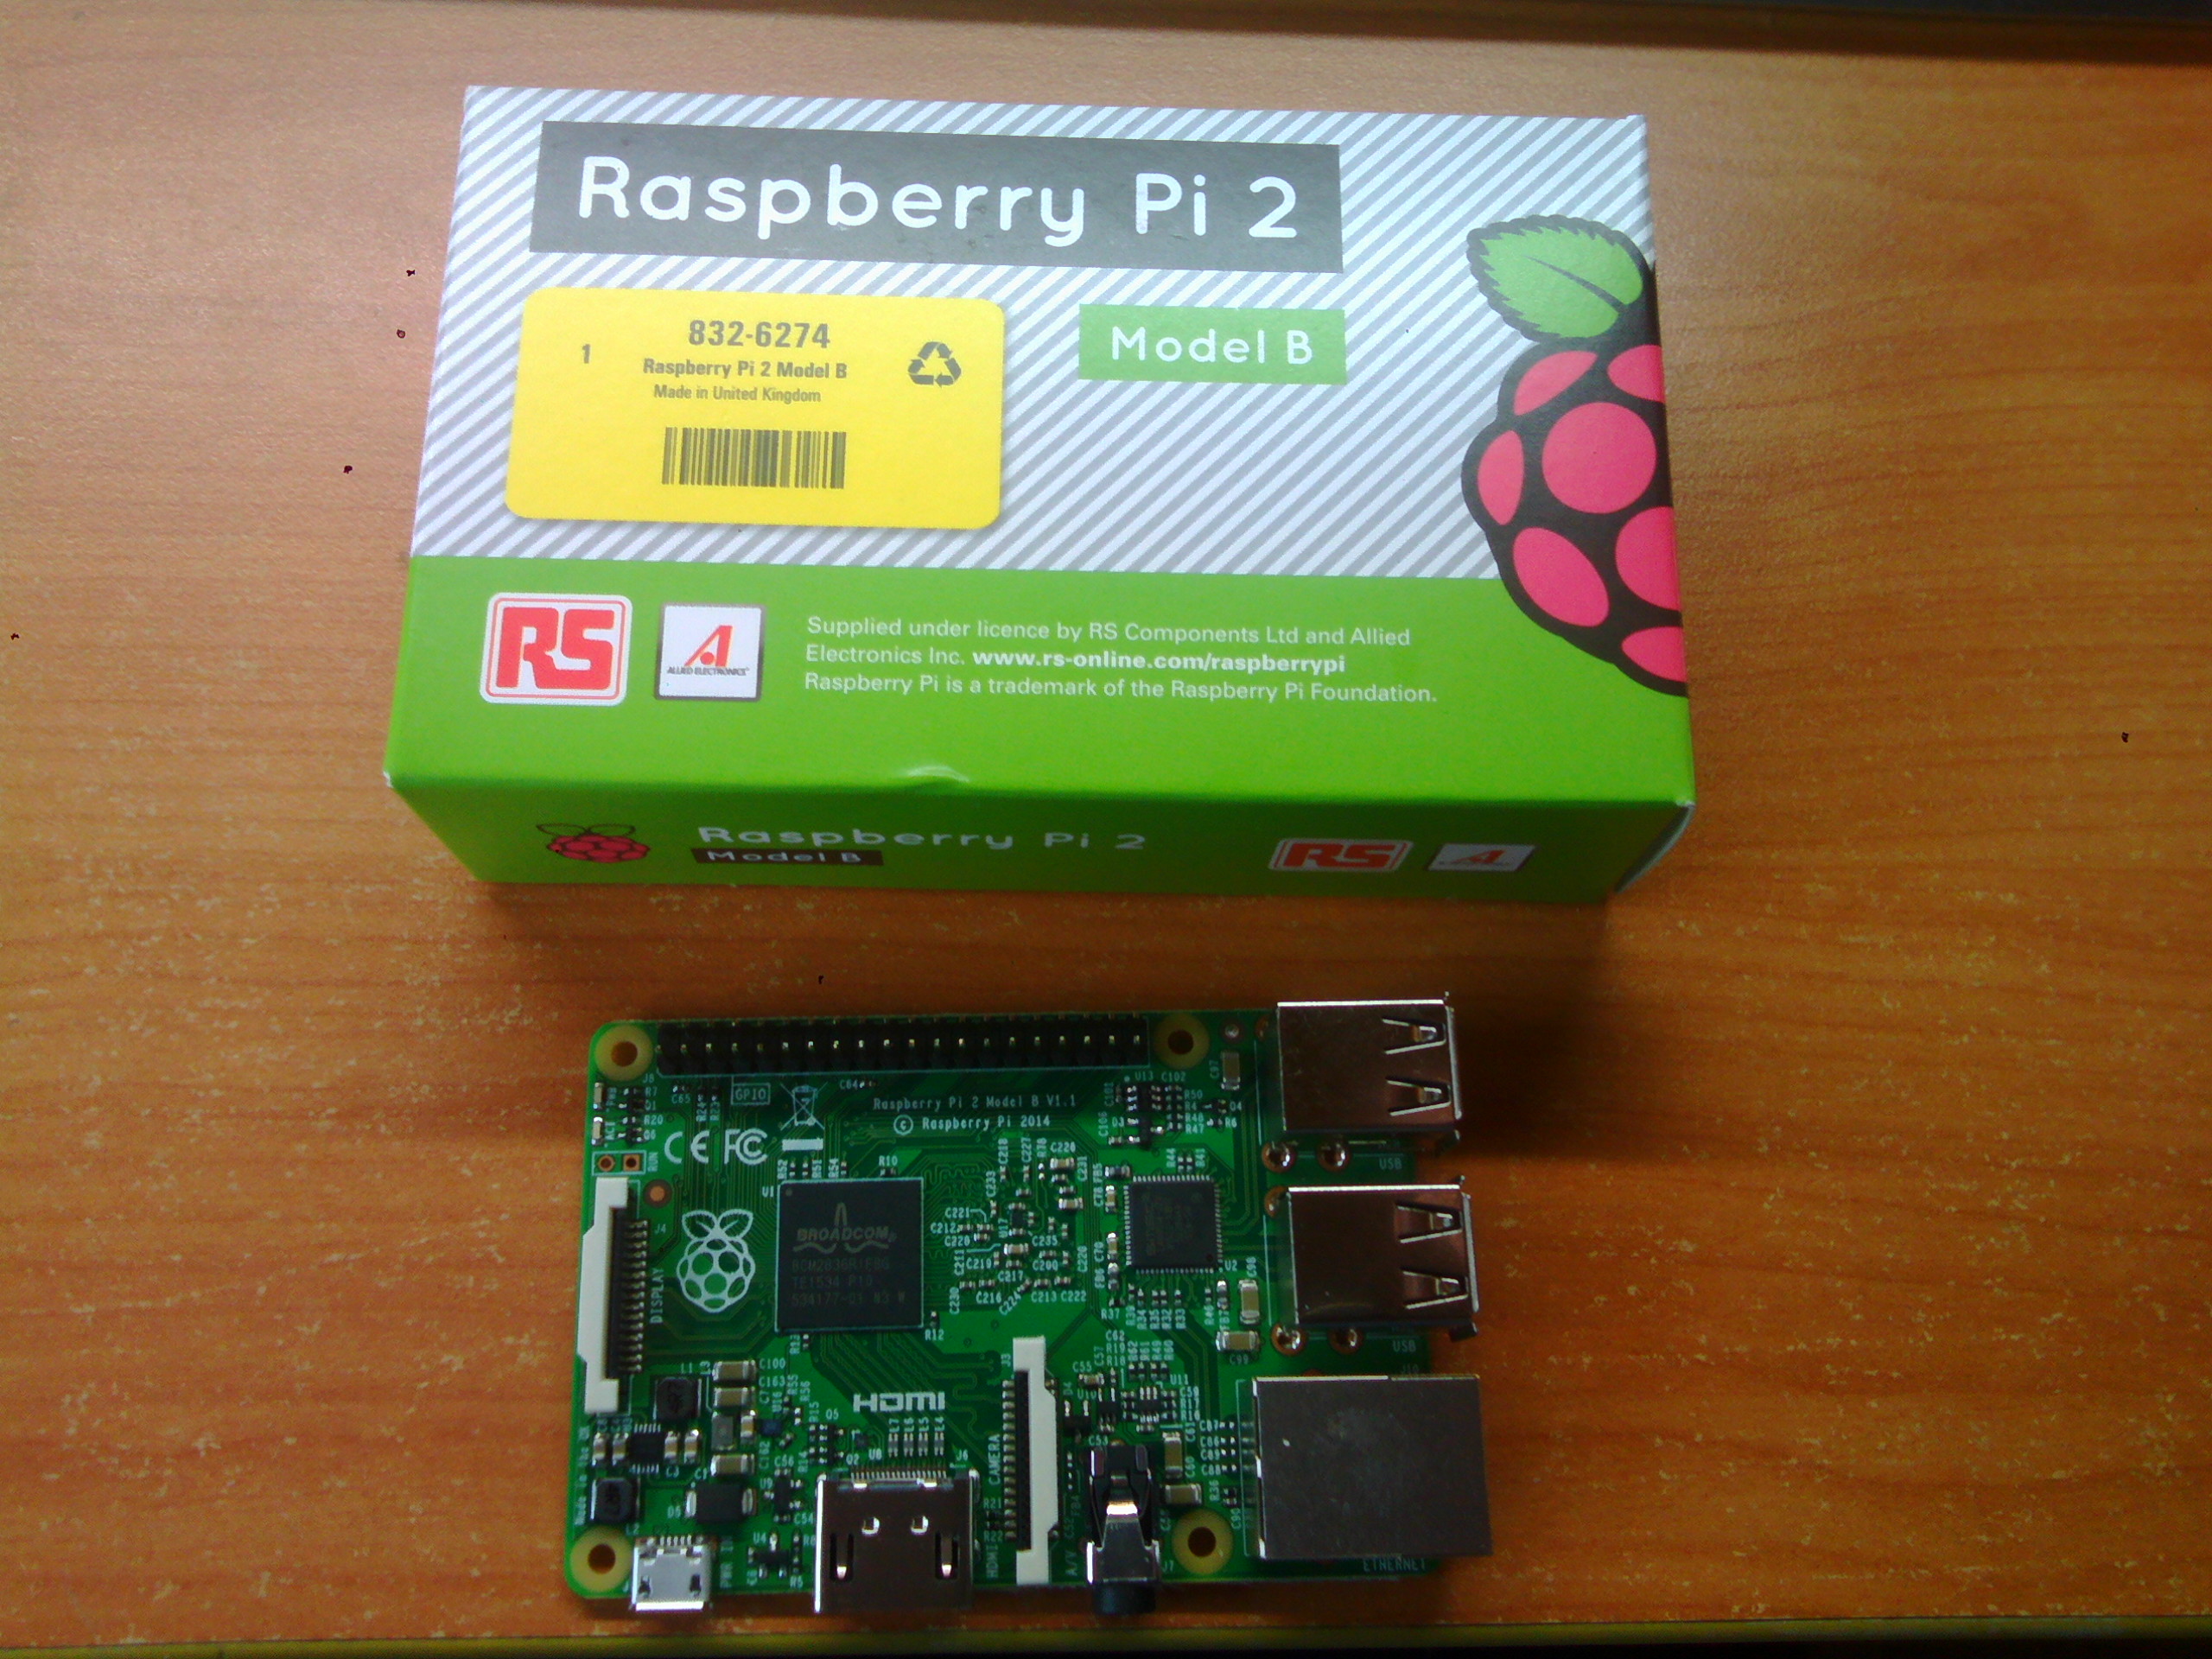
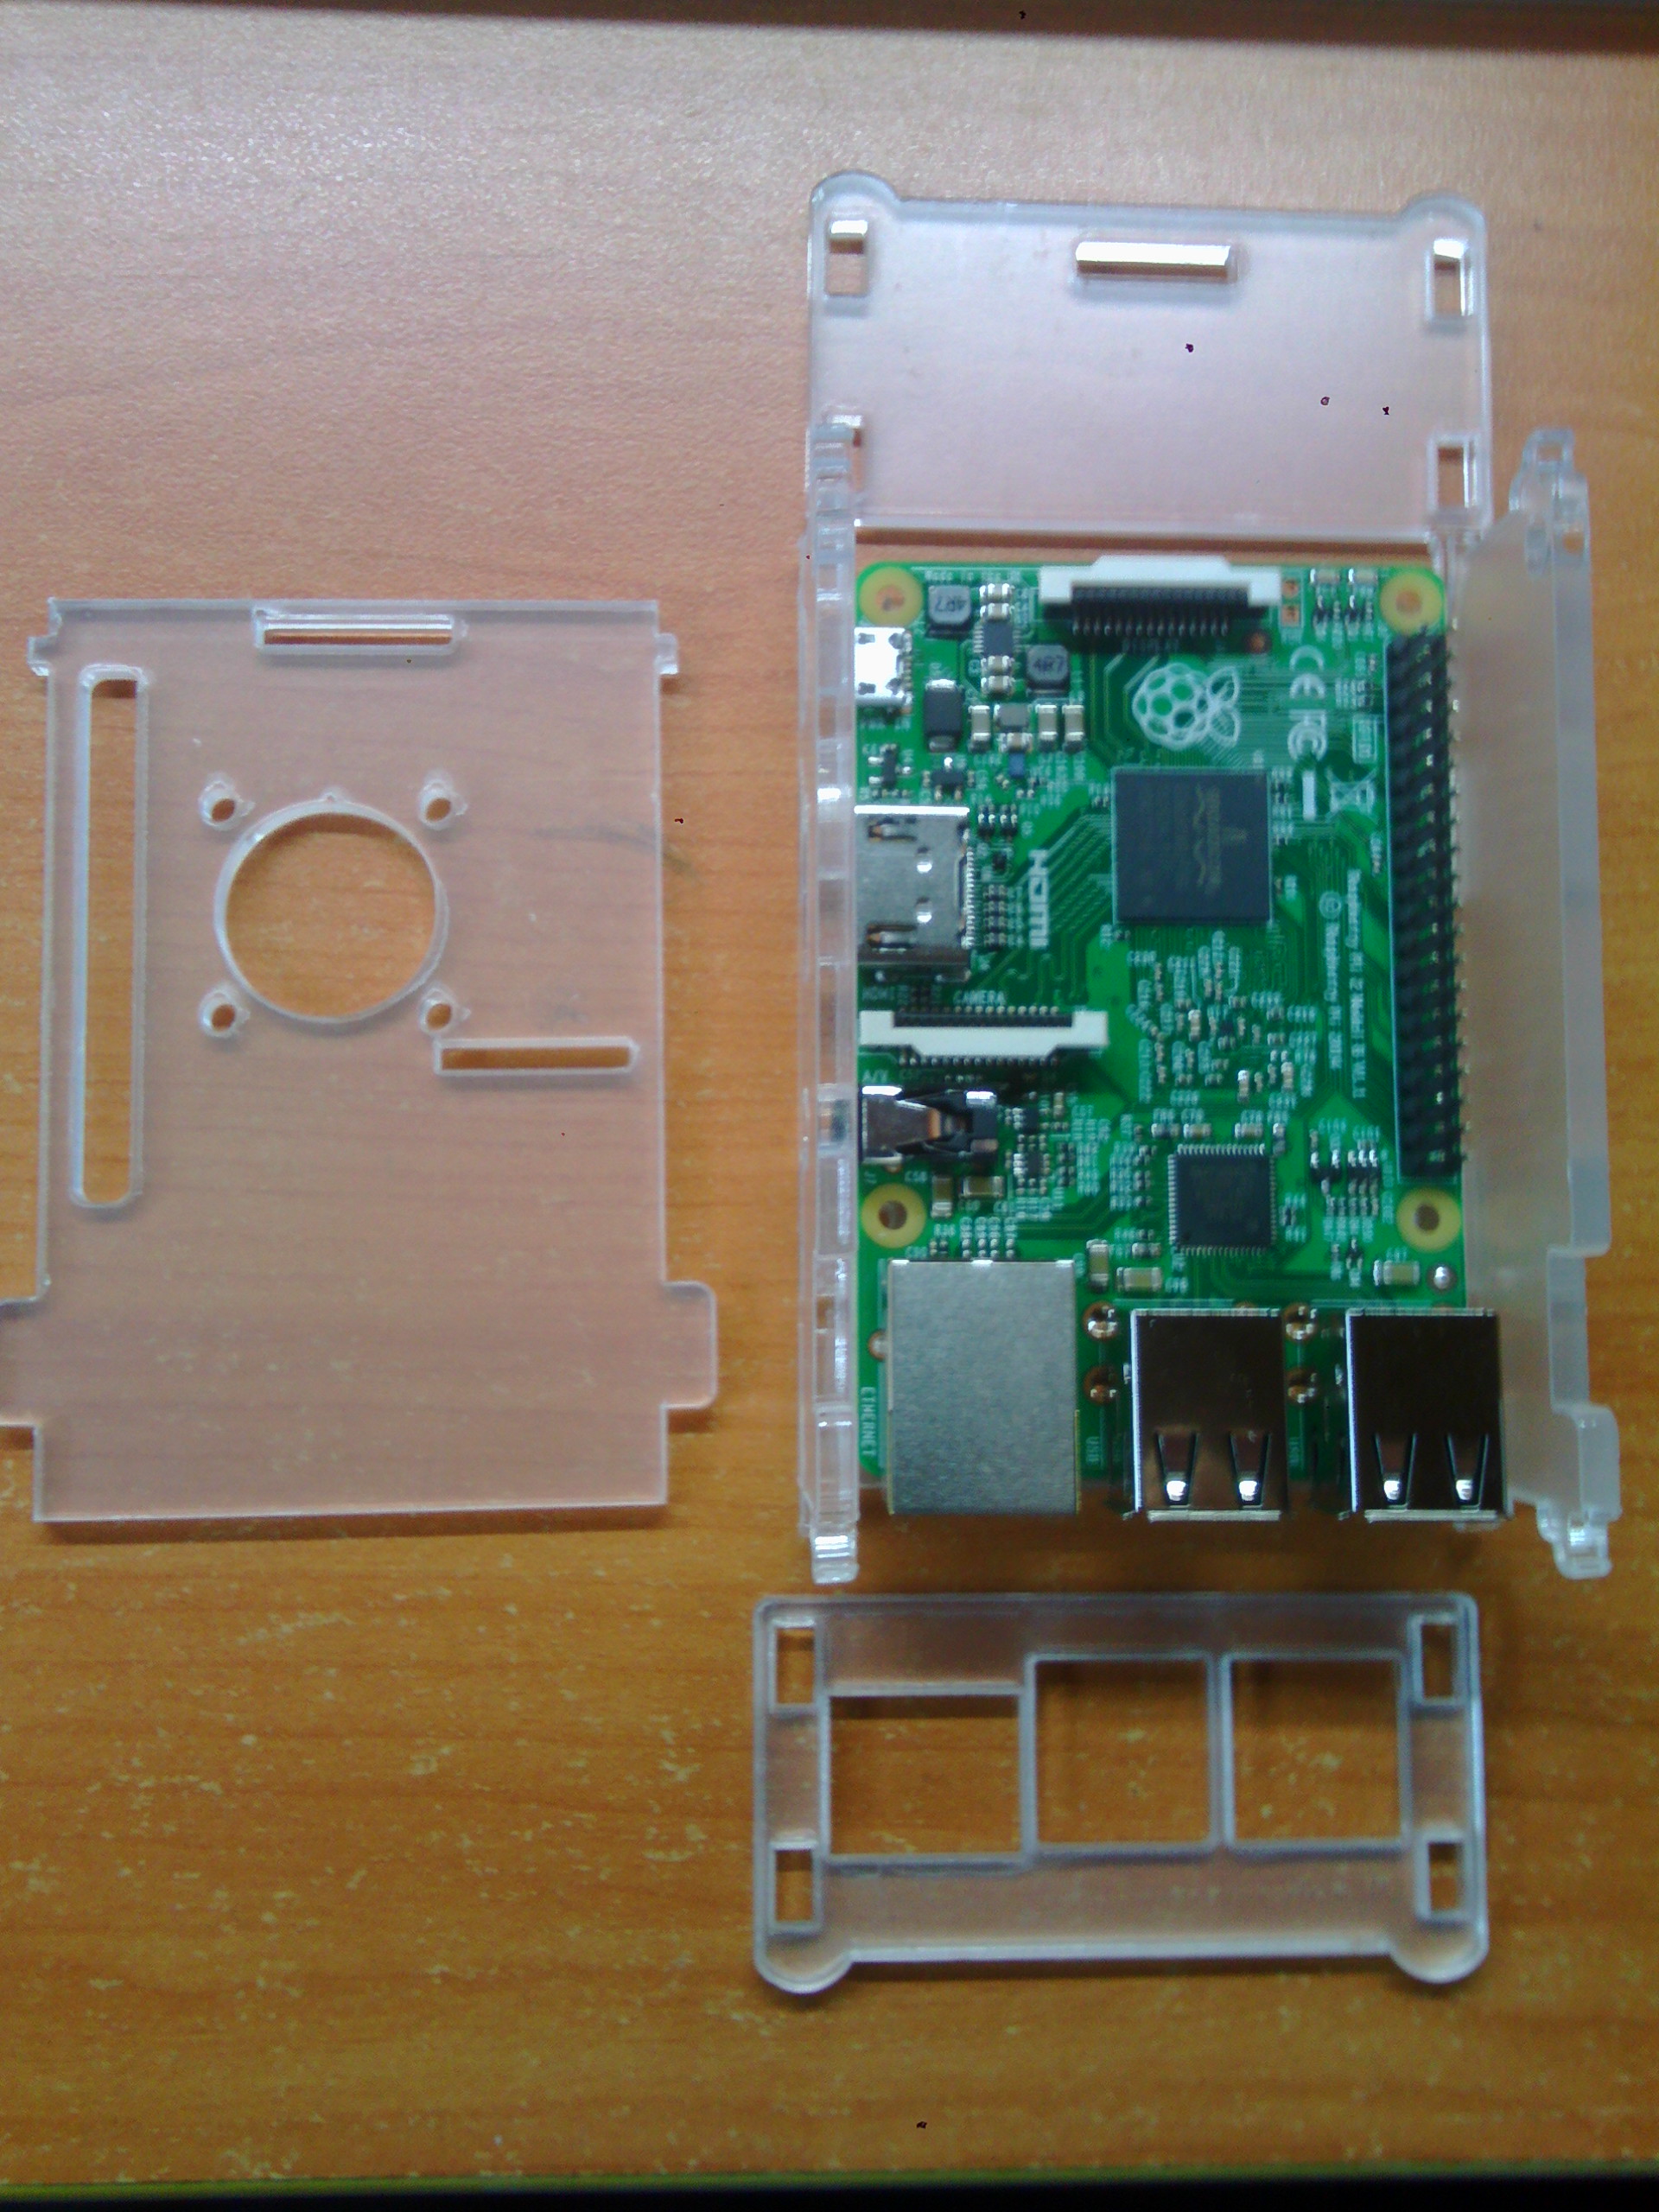
- The package and the appearance of the Raspberry Pi 2 Model B are shown below.
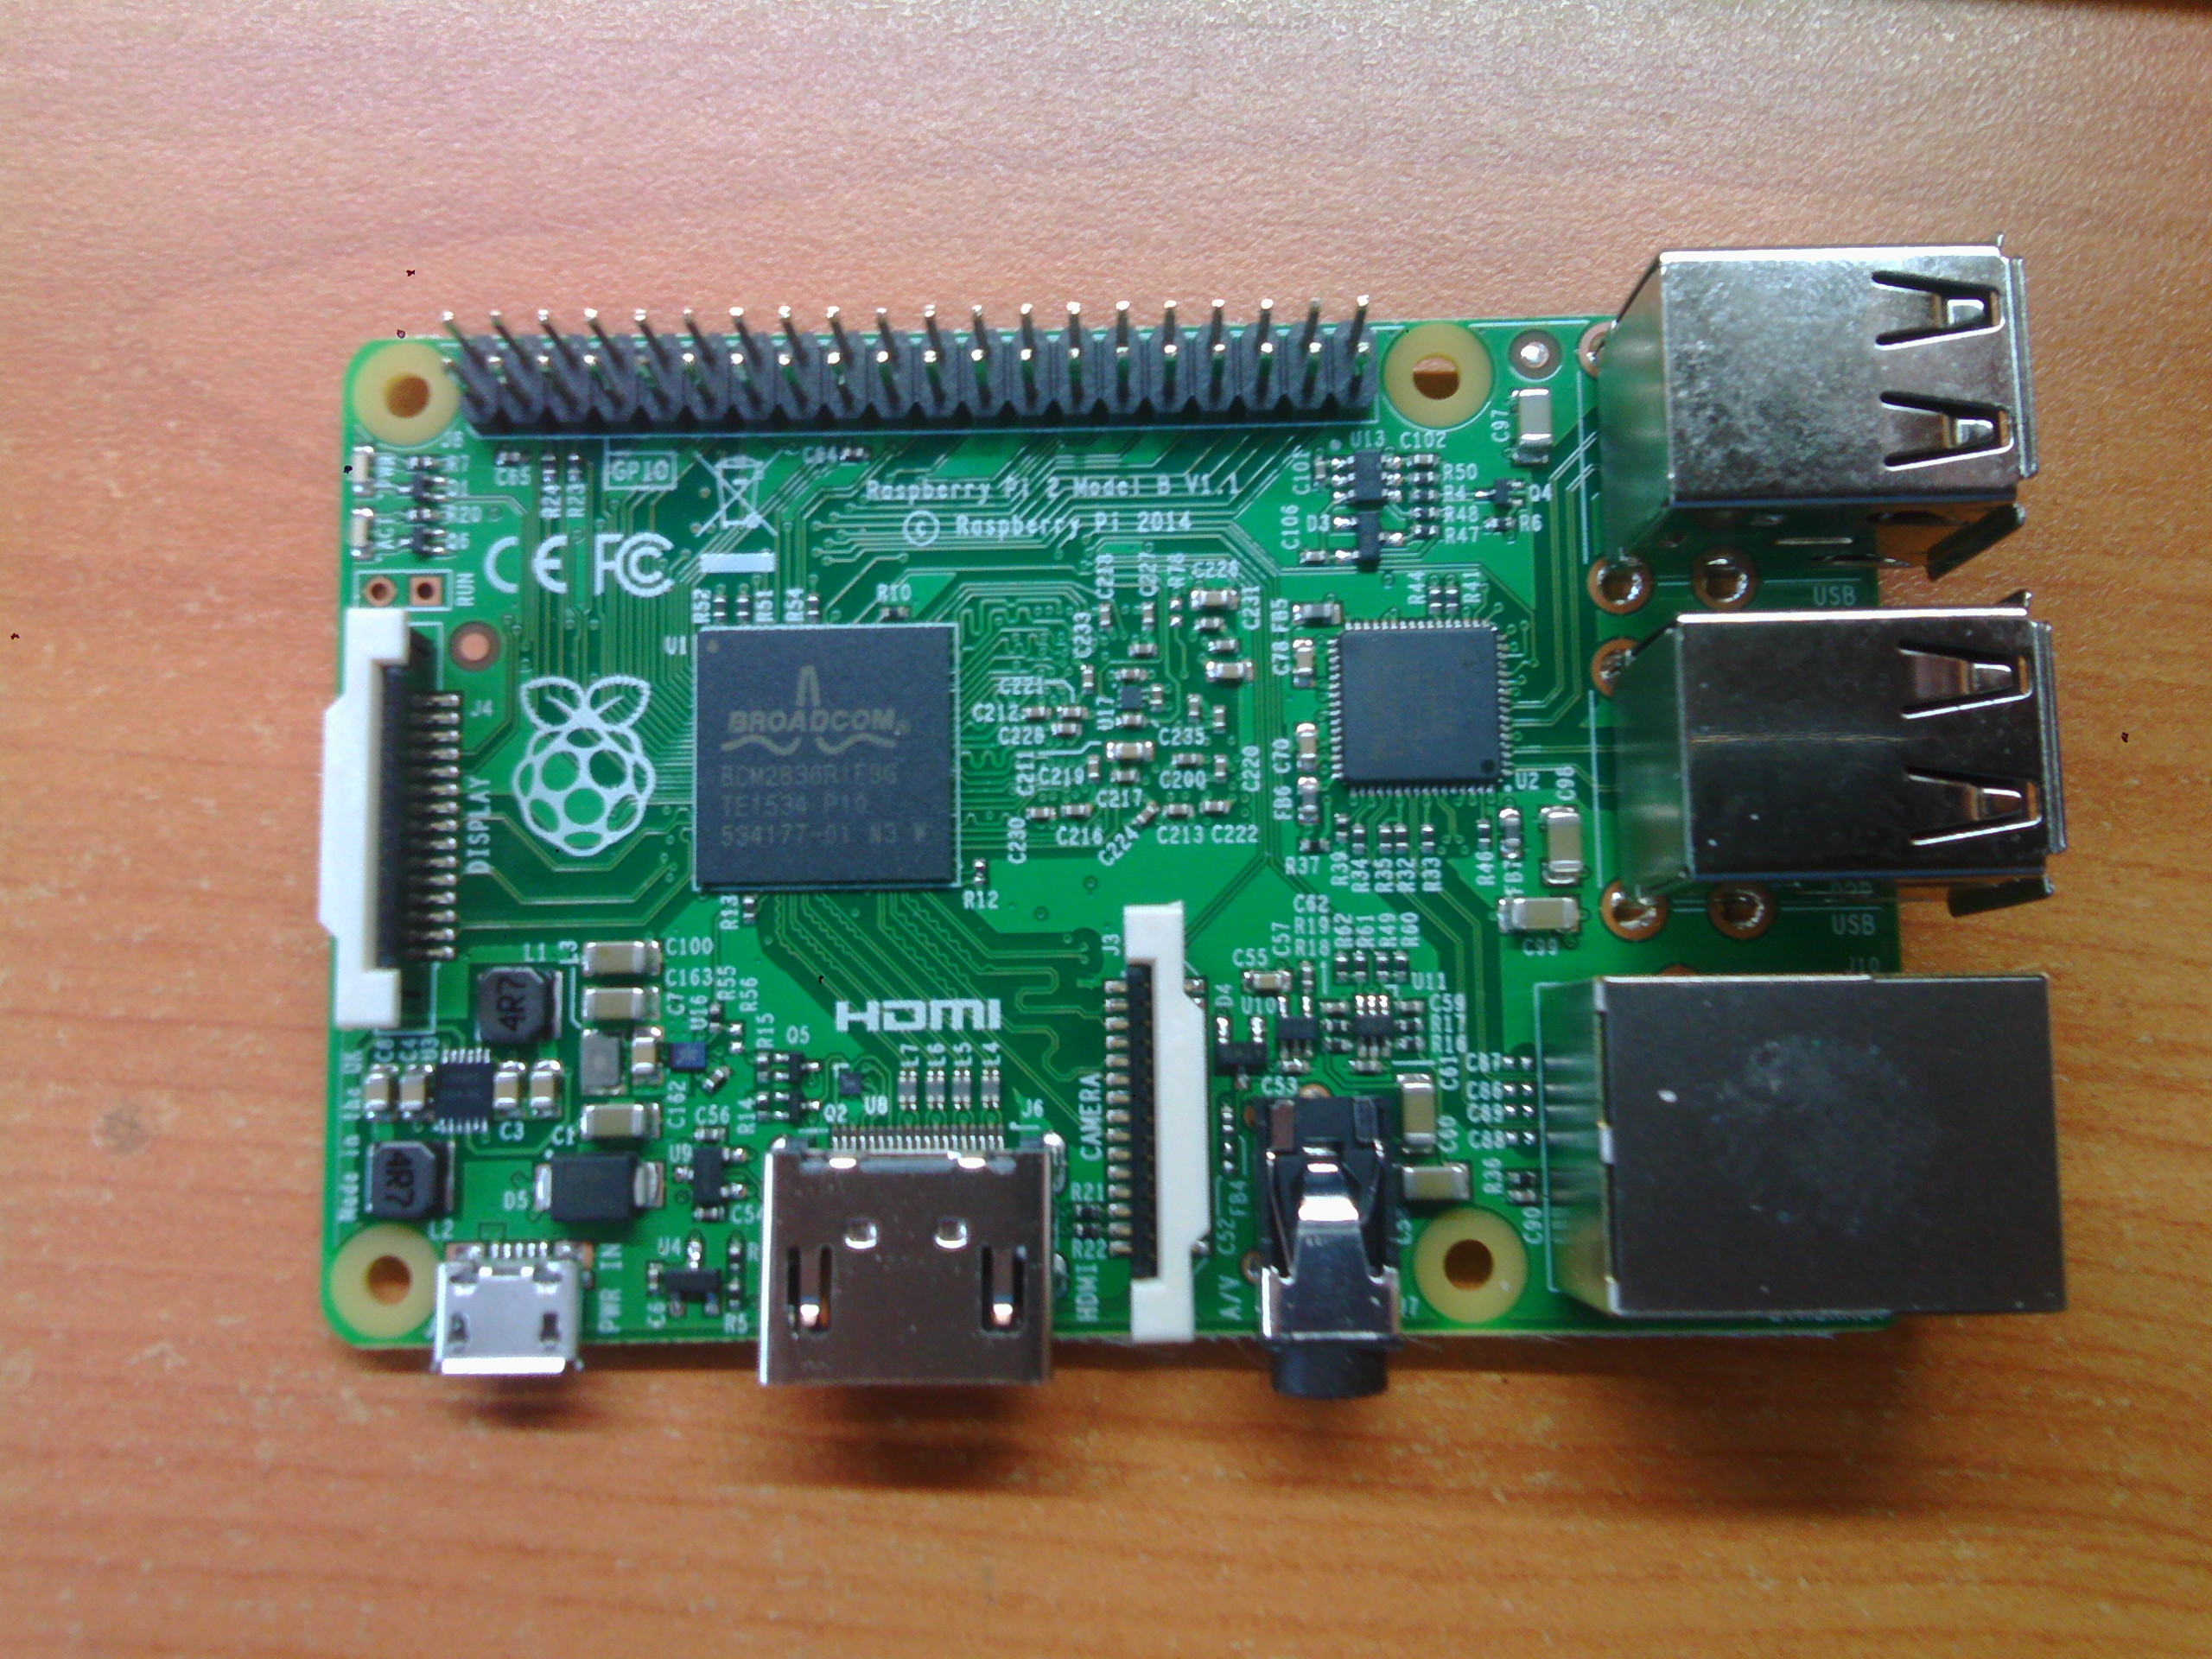
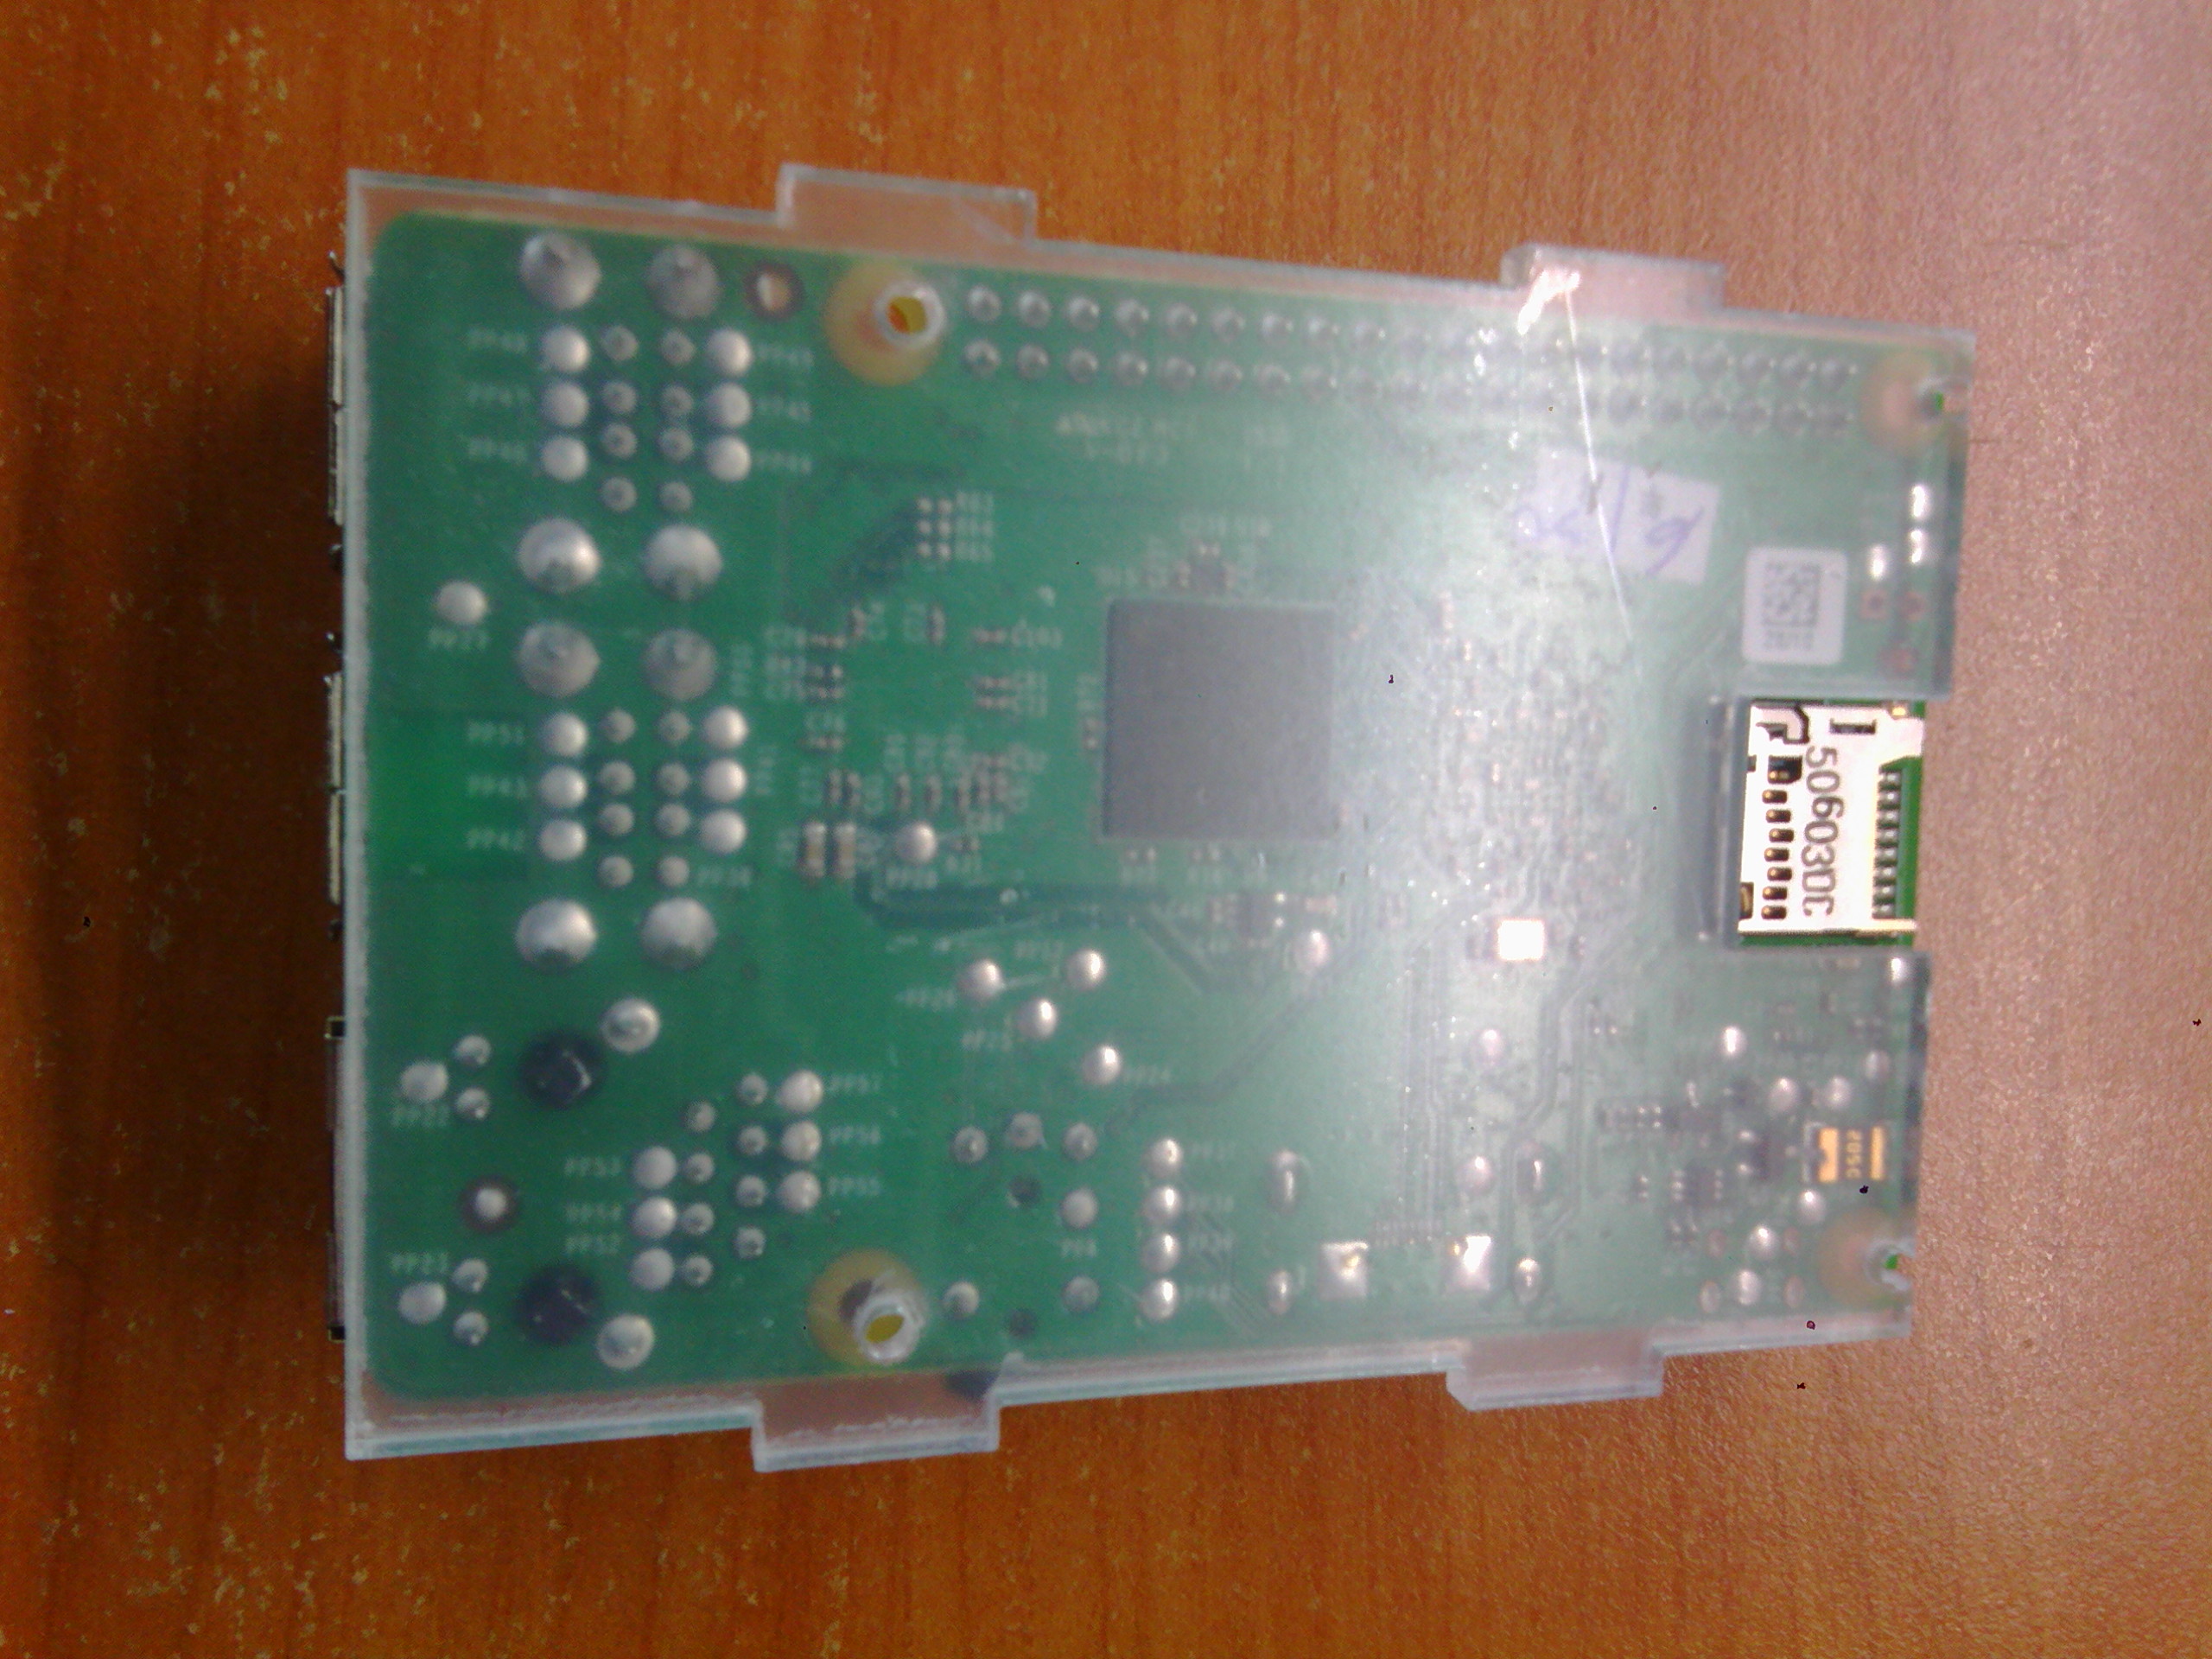
- The larger image of the board may let see that the upper horizontal needles are GPIOs, left down cornor is the power supply jack, and the two silver jacks on the upper right are four USBs stacked.
- I also bought the shell for the Raspberry Pi 2 Model B.
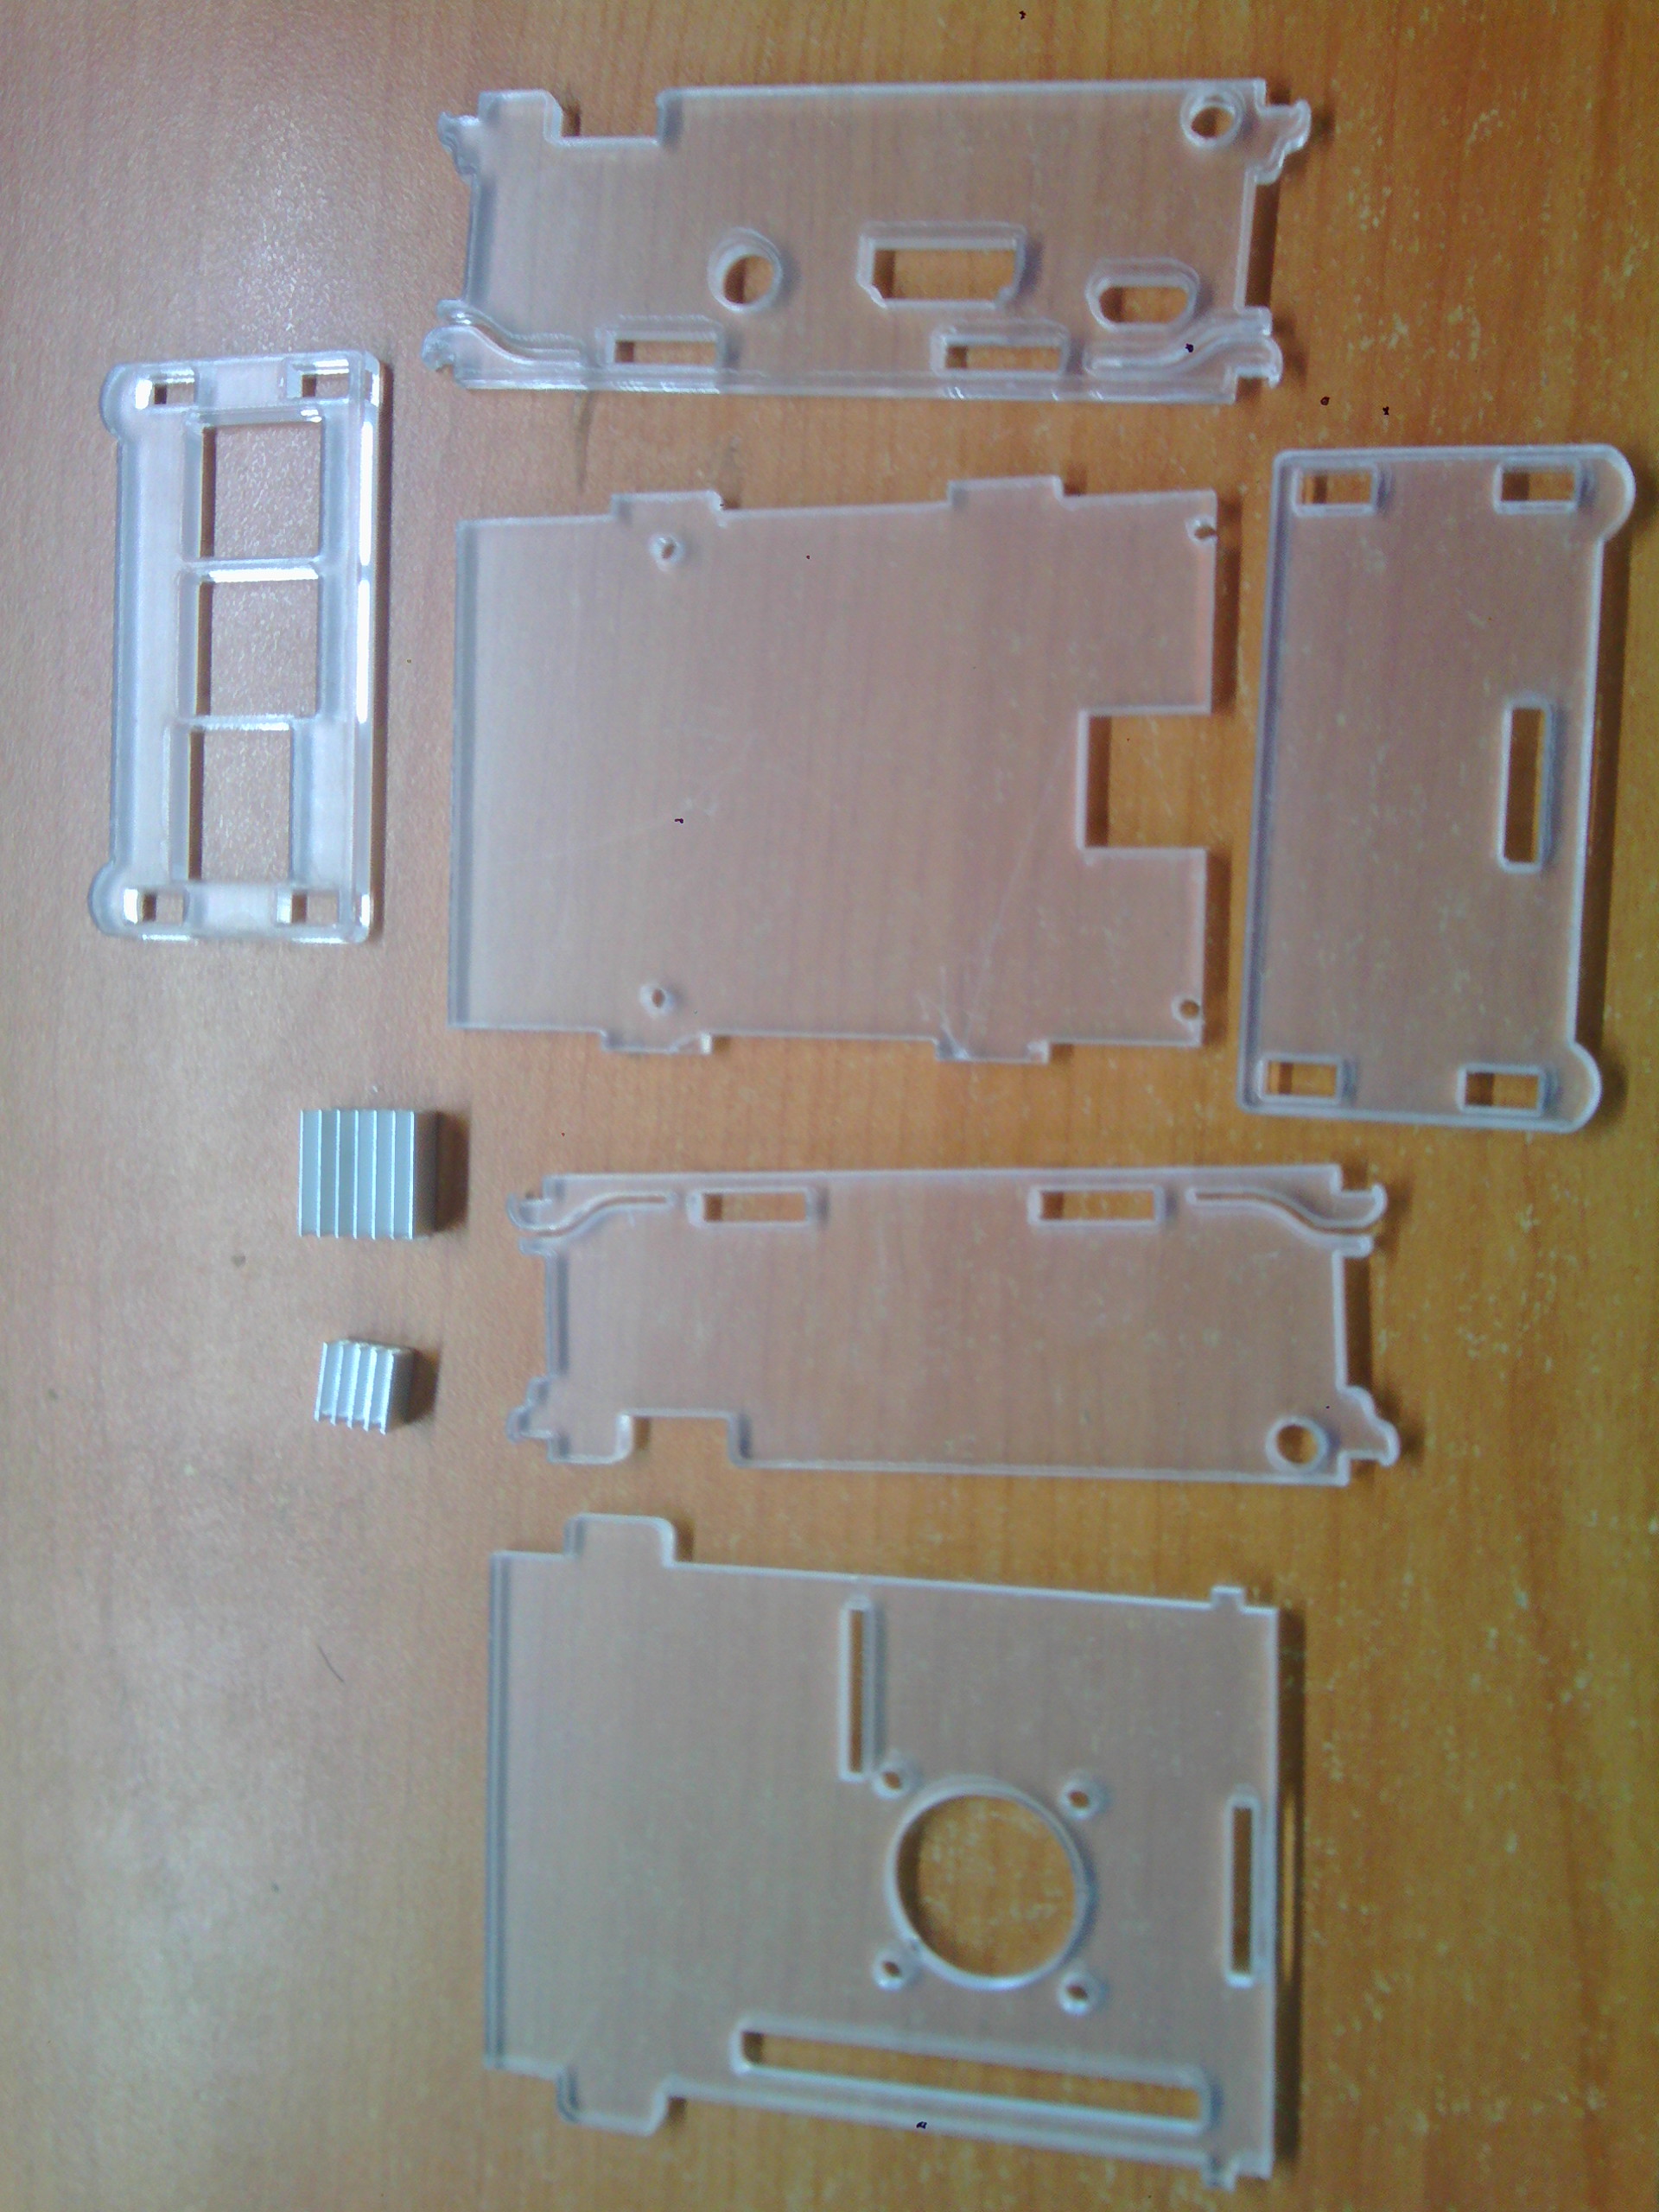
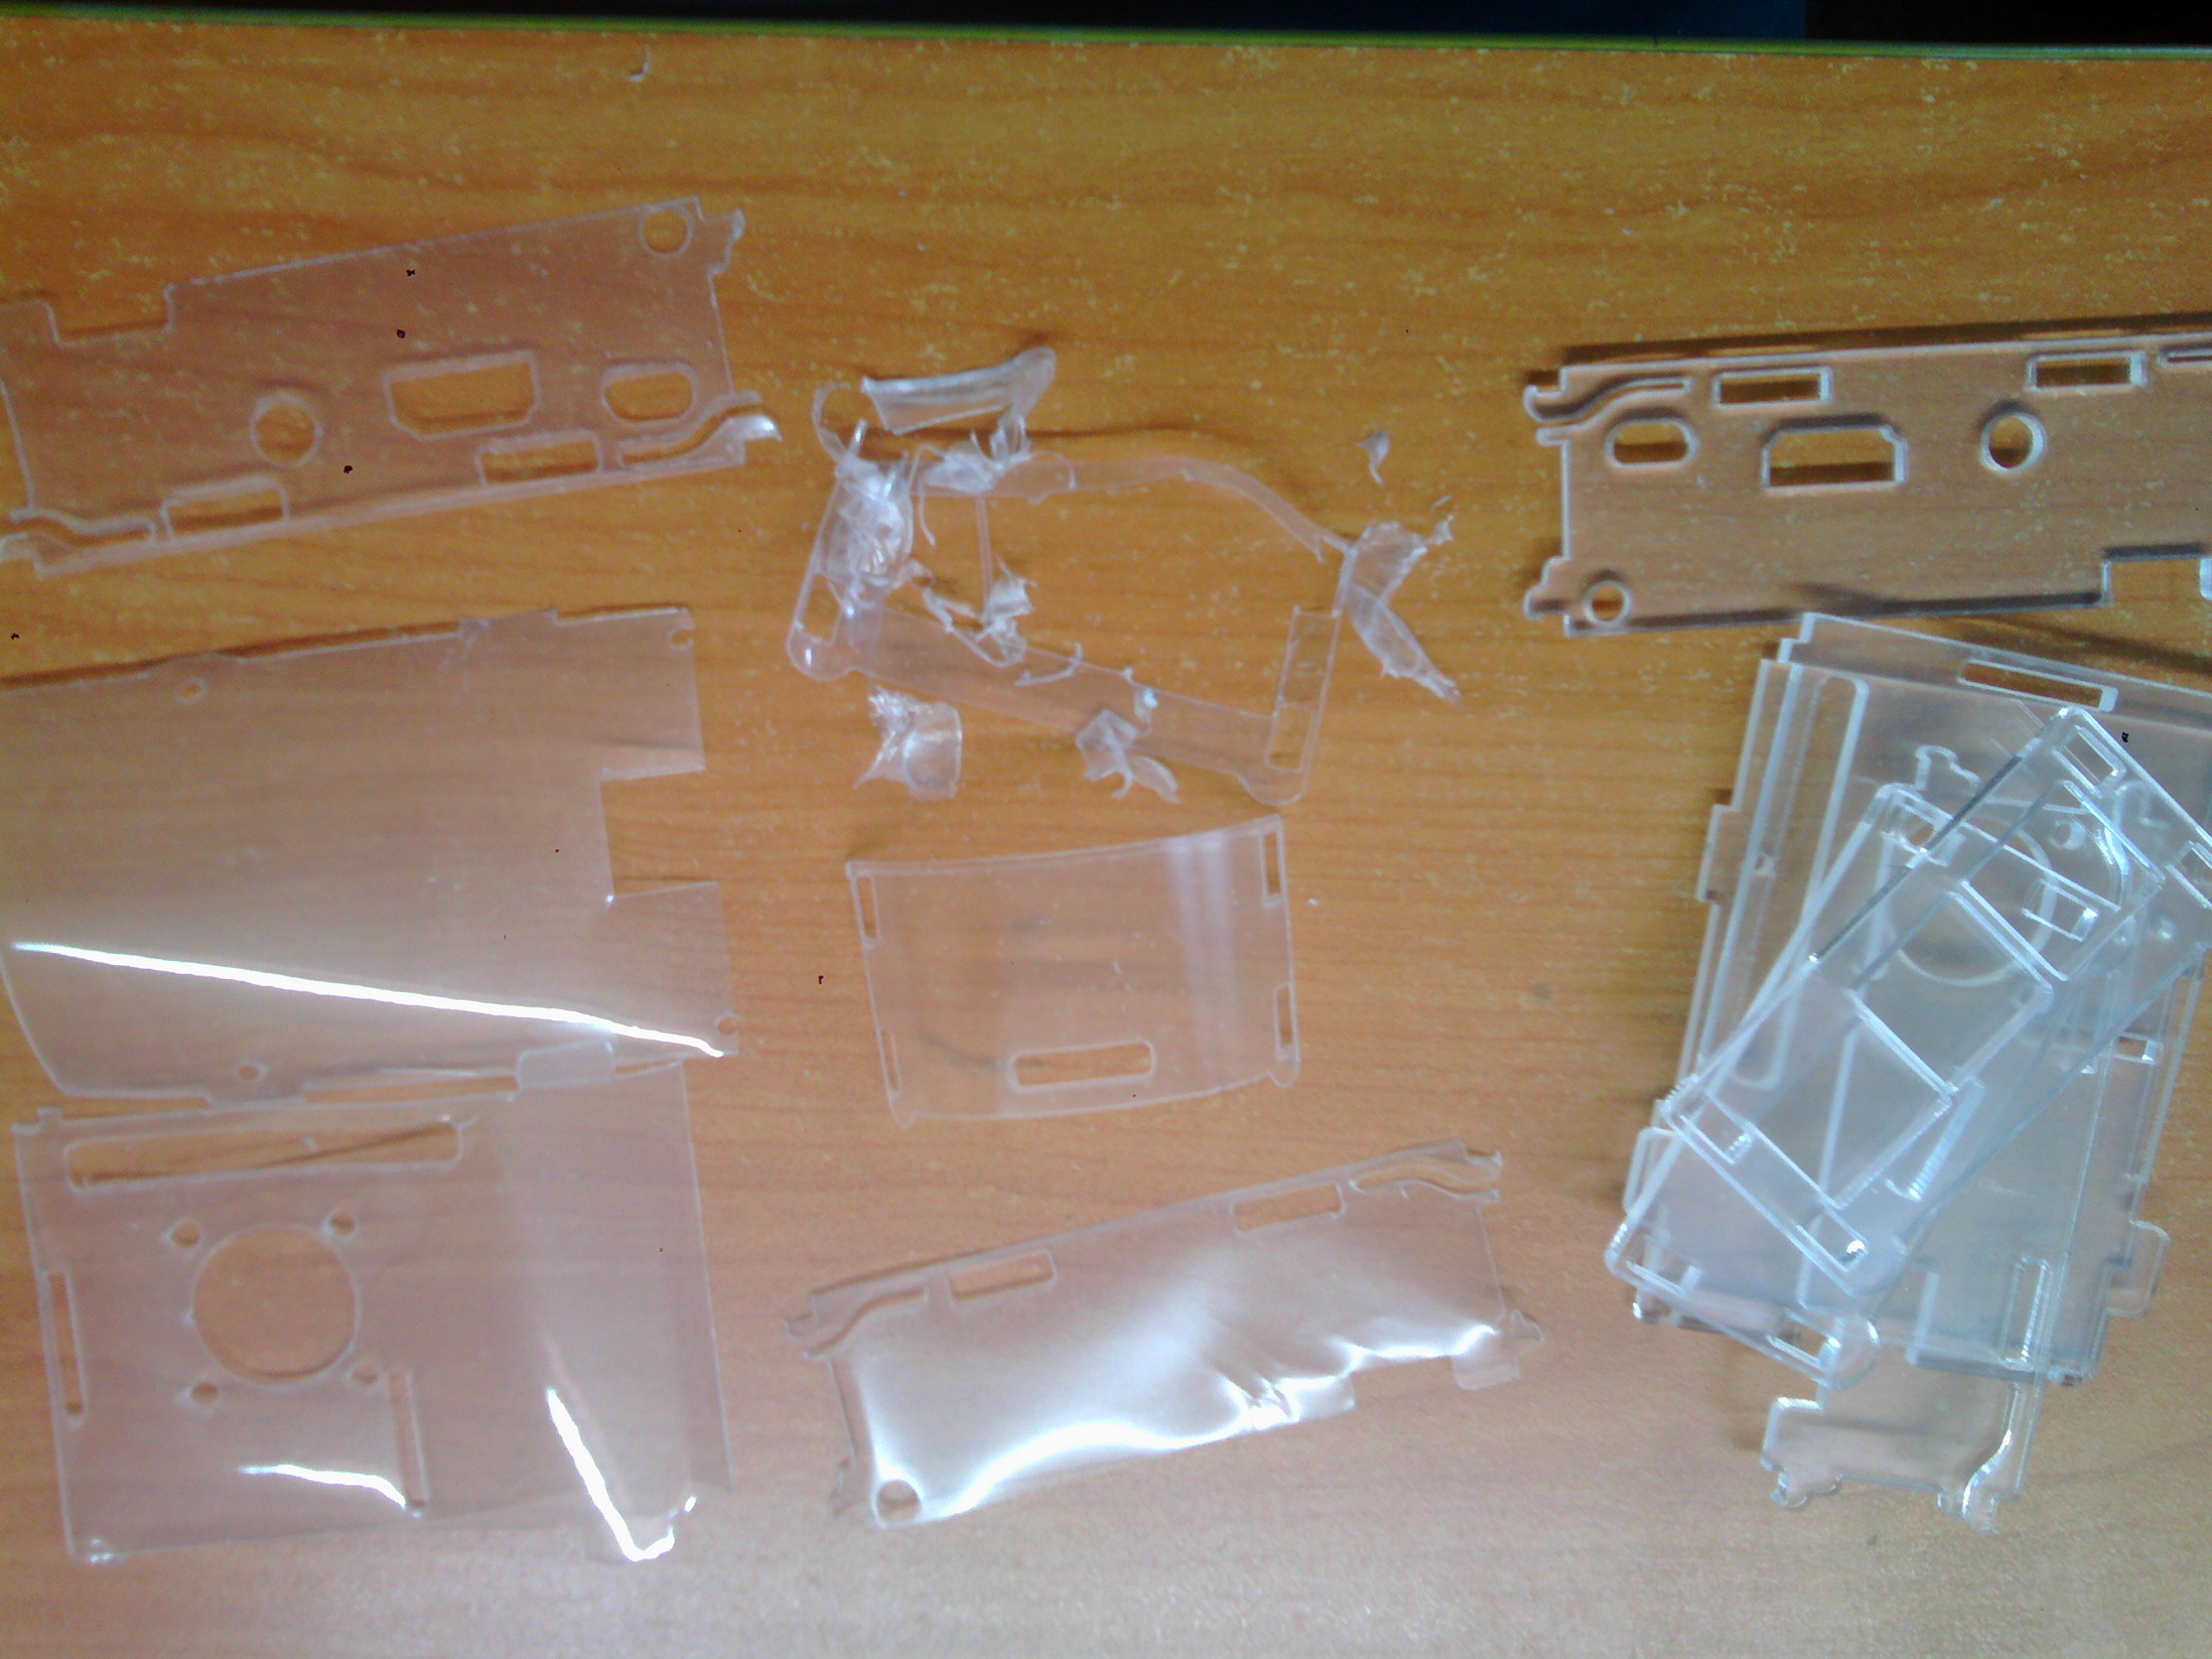
- There are thin films attached on the shells. After removing them, the shell became more transparent.
- Then I turned to the buttom of the development board and aligned the hole of the shell to the jack of the SD card.
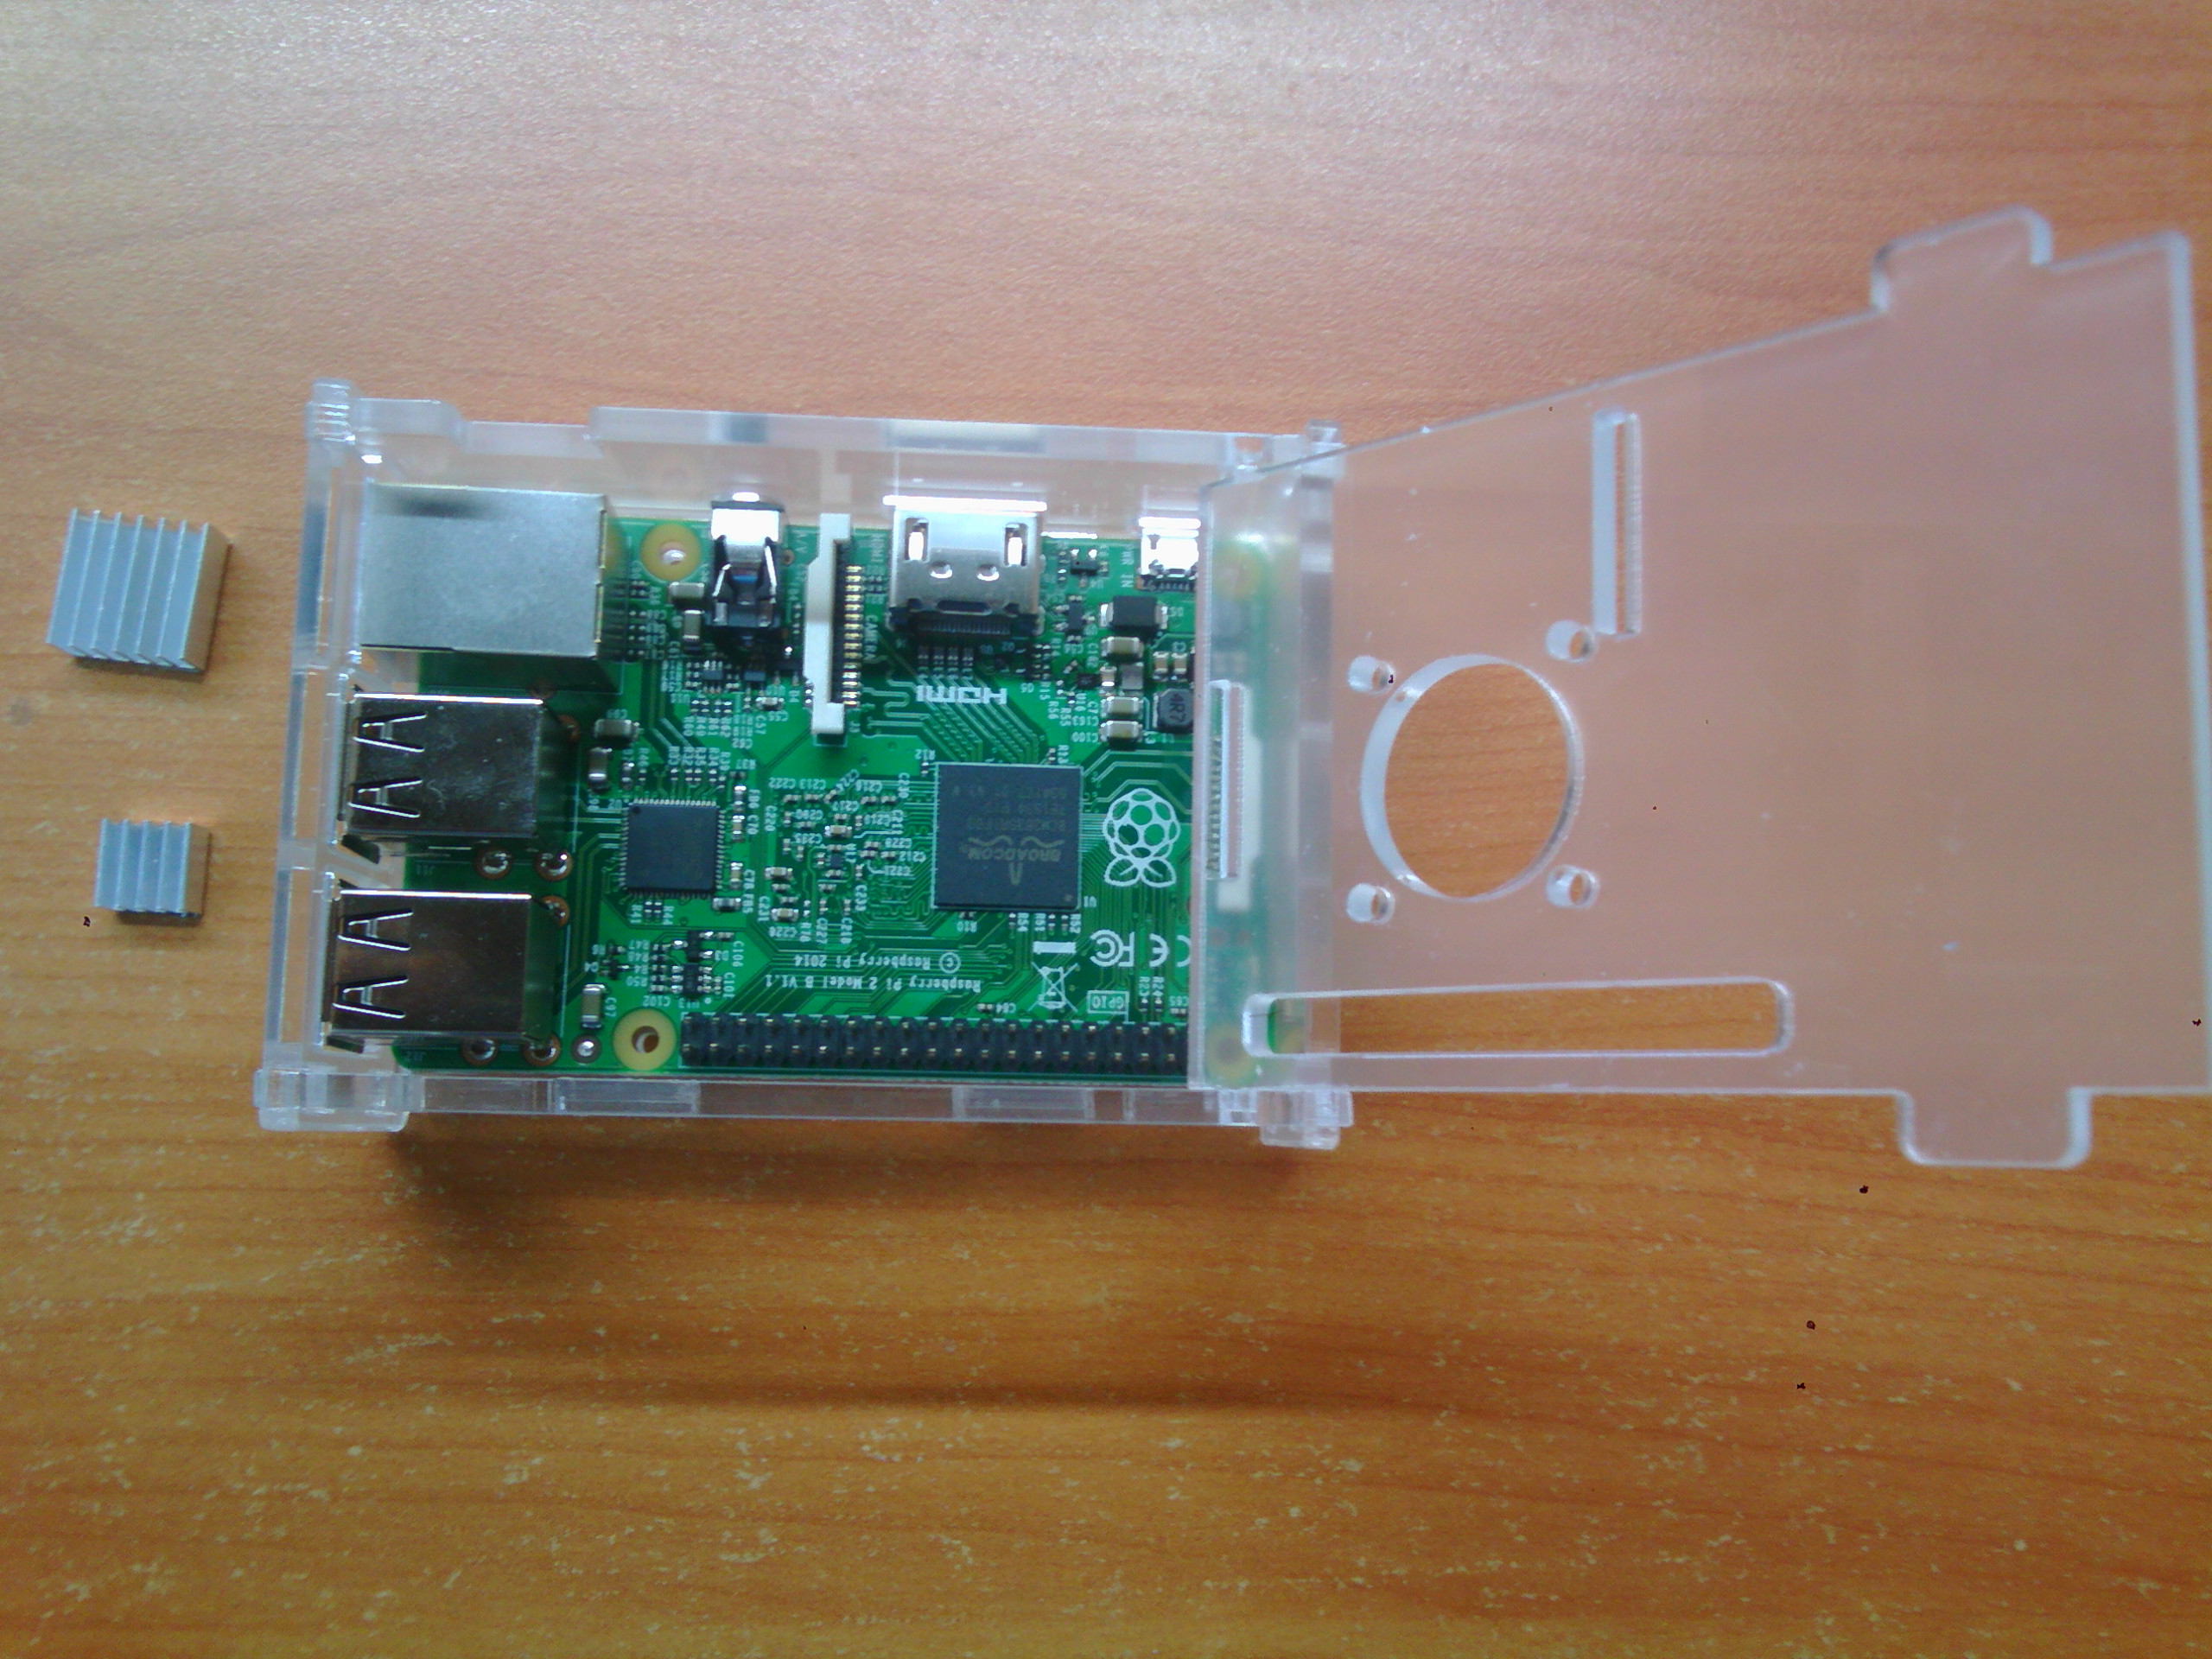
- Afterward, I turned back and confirmed the shell on two sides.

- Remaining the top, front and back shells, I aligned these shells, too.
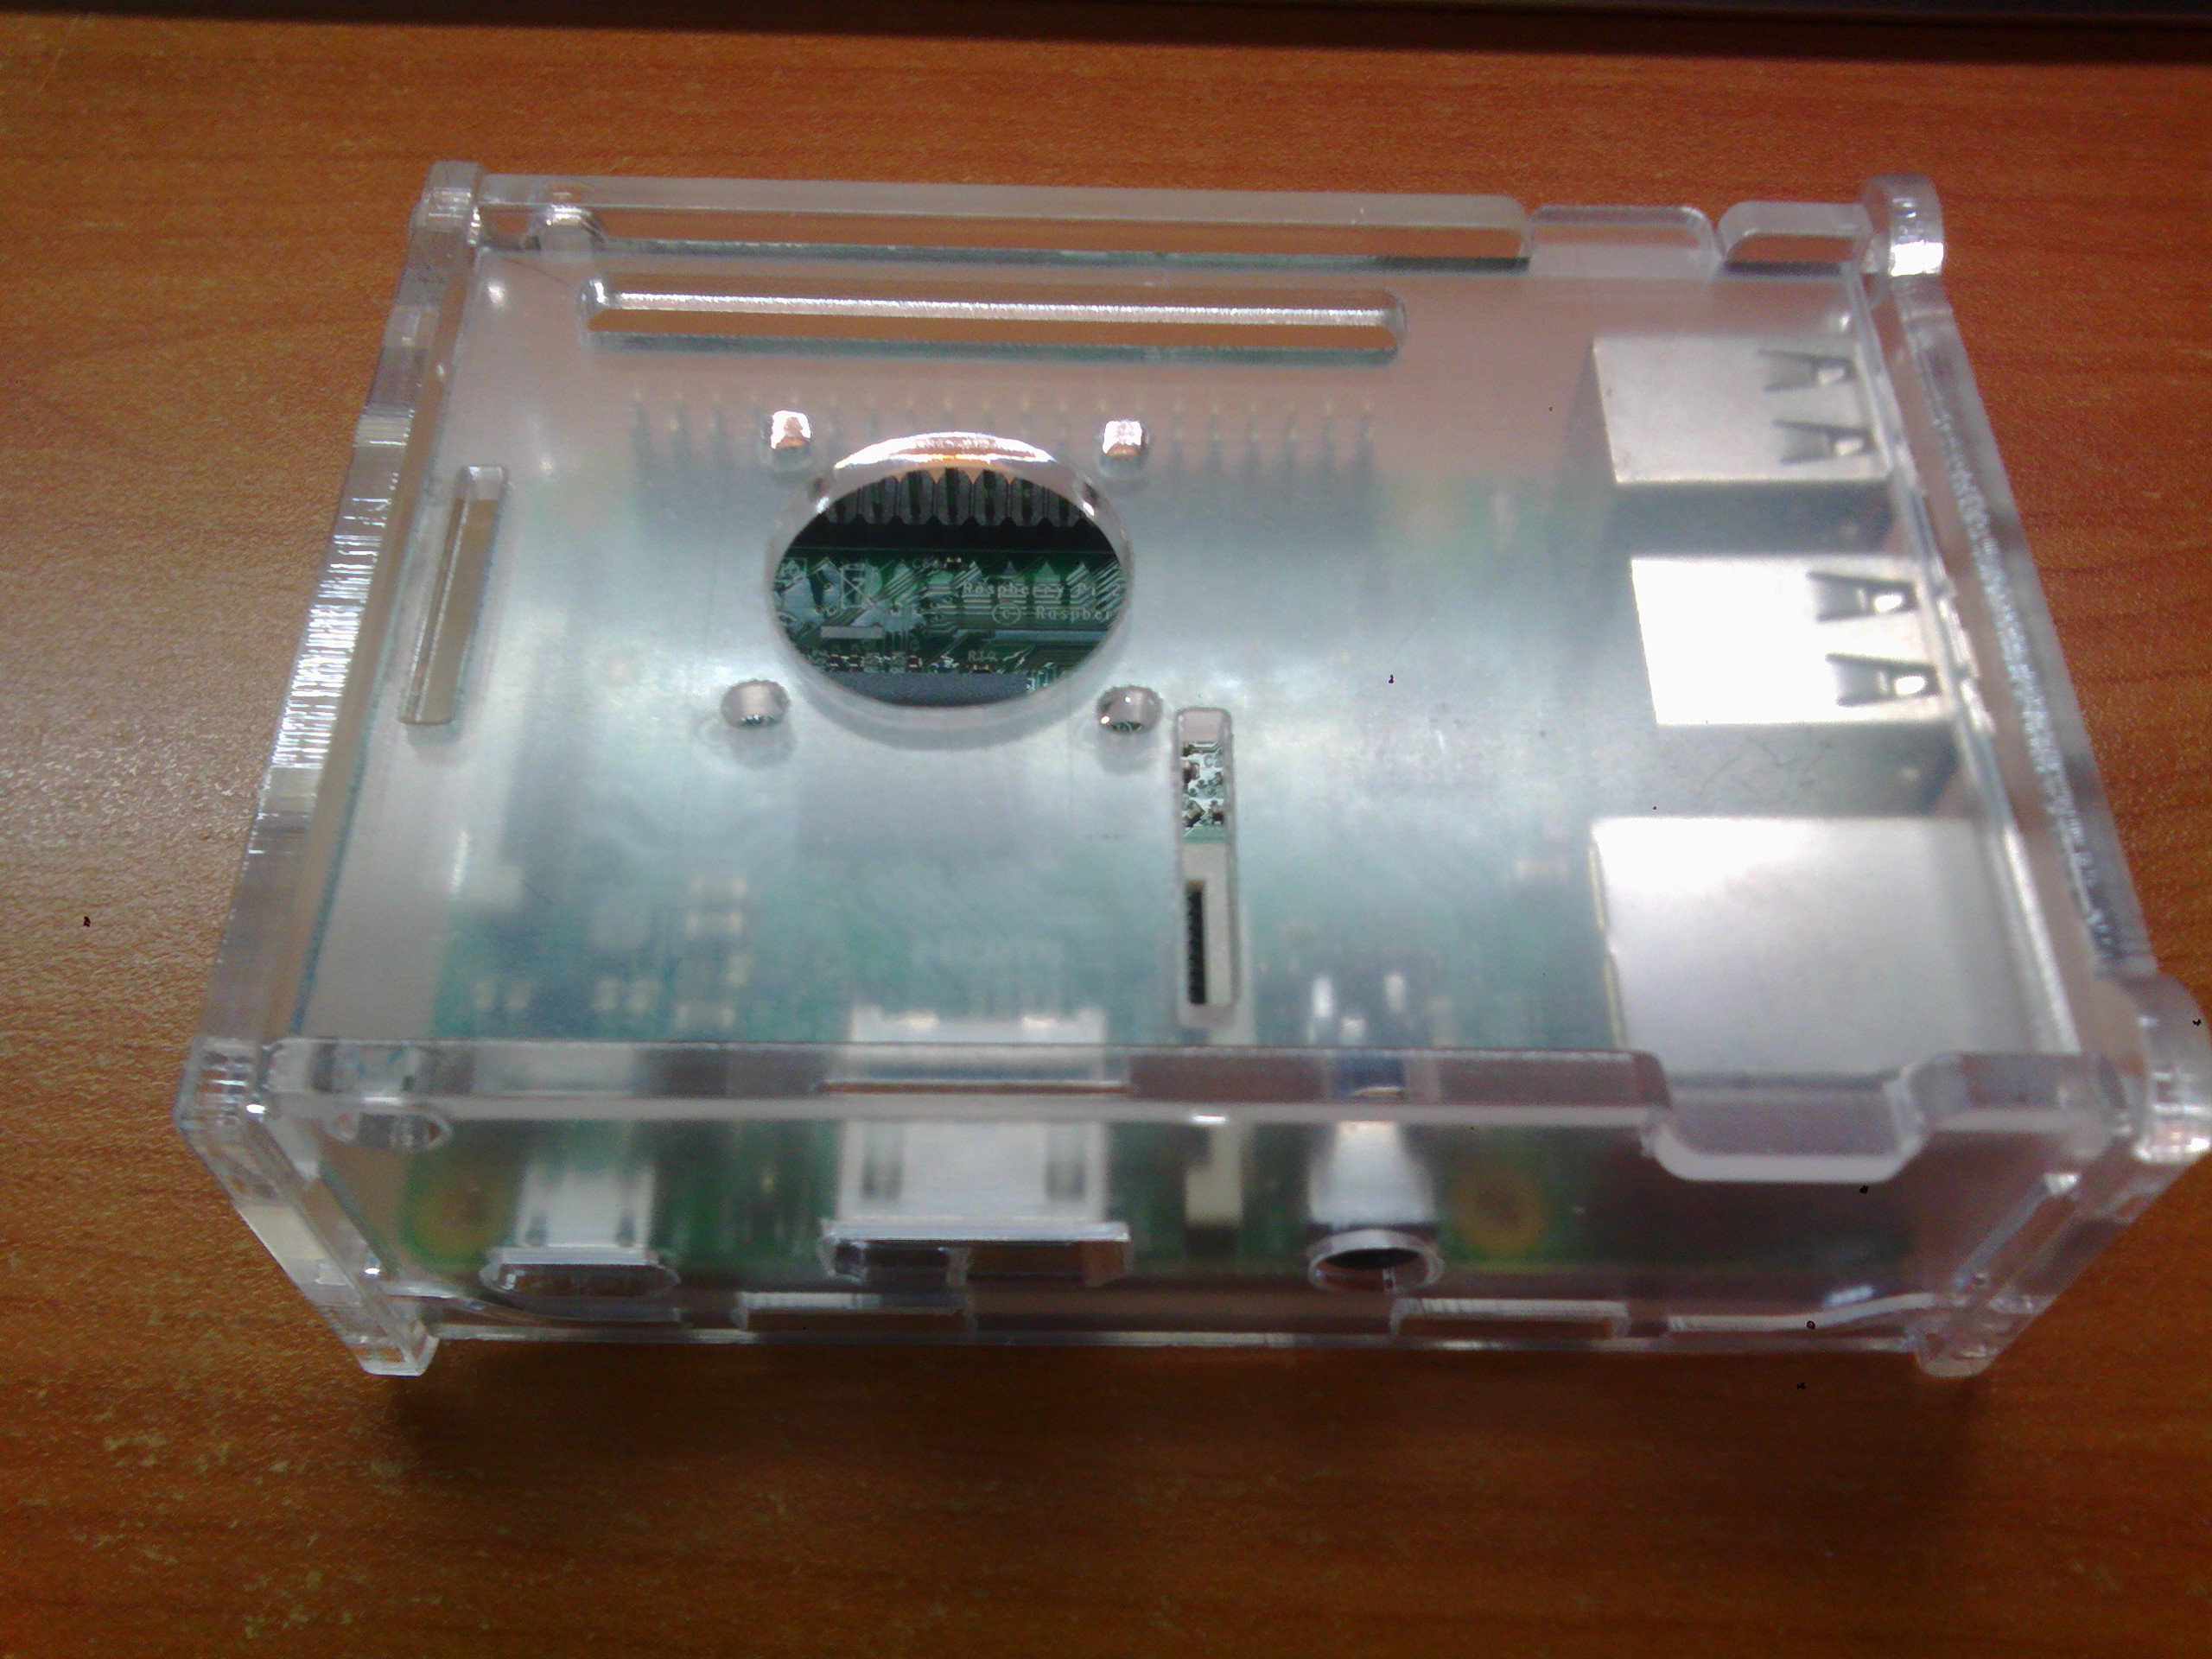
- Only one steps from finishing, I slabbed the heat sinks on the two microchips.
- Finish!
Conclusion
After the assembling of the Raspberry Pi 2 Model B, shells, and heat sinks, the following work would be installation of the operating system. This part would be kept until the other post.